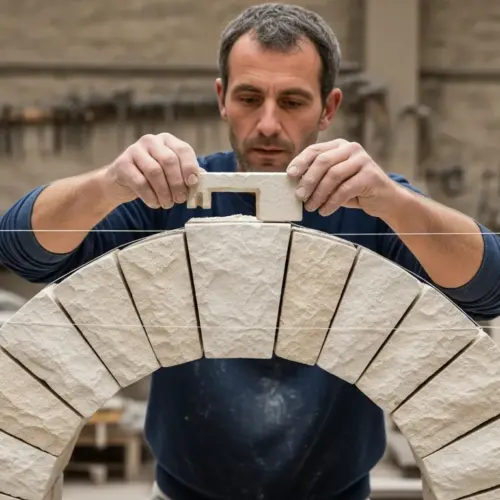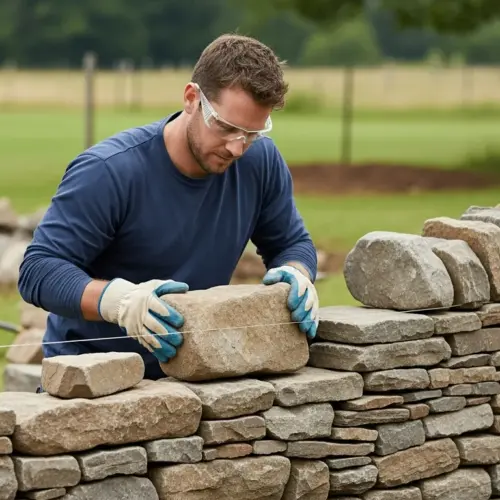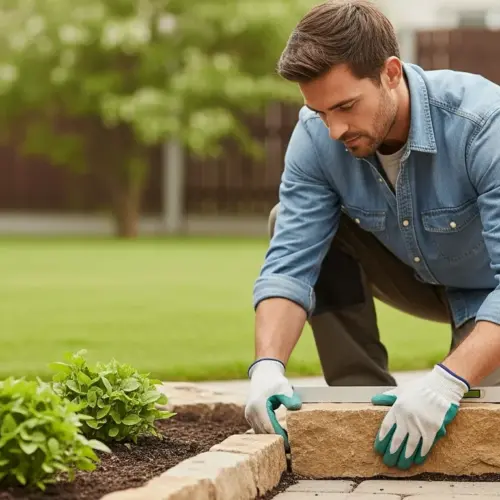

A cobblestone driveway can dramatically enhance your home’s curb appeal. The timeless beauty and durability of cobblestones make them a worthwhile investment for any homeowner.
However, cobblestone driveway installation is a complex project that requires careful planning and execution. This detailed guide will walk you through each step of the process, ensuring a successful and long-lasting cobblestone driveway installation.
From driveway design to paver installation, we’ll cover everything you need to know. By following these instructions, you can achieve a stunning cobblestone driveway that will be the envy of the neighborhood.
Planning Your Cobblestone Driveway Design
Before you begin the physical work, careful planning of your cobblestone driveway design is essential. This initial phase sets the stage for a successful and aesthetically pleasing outcome.
Consider the overall style of your home and how the cobblestone driveway will complement it. A well-thought-out driveway design can significantly enhance your home’s curb appeal.
Start by measuring the area where you plan to install the driveway. Accurate measurements will help you determine the amount of materials needed and prevent costly errors.
Think about the shape and layout of your driveway. Will it be straight, curved, or a combination of both? Also, consider the width and how it will accommodate vehicles and pedestrian traffic.
Choose the right type of cobblestone for your driveway. Cobblestones come in various sizes, shapes, and colors, each offering a unique aesthetic appeal.
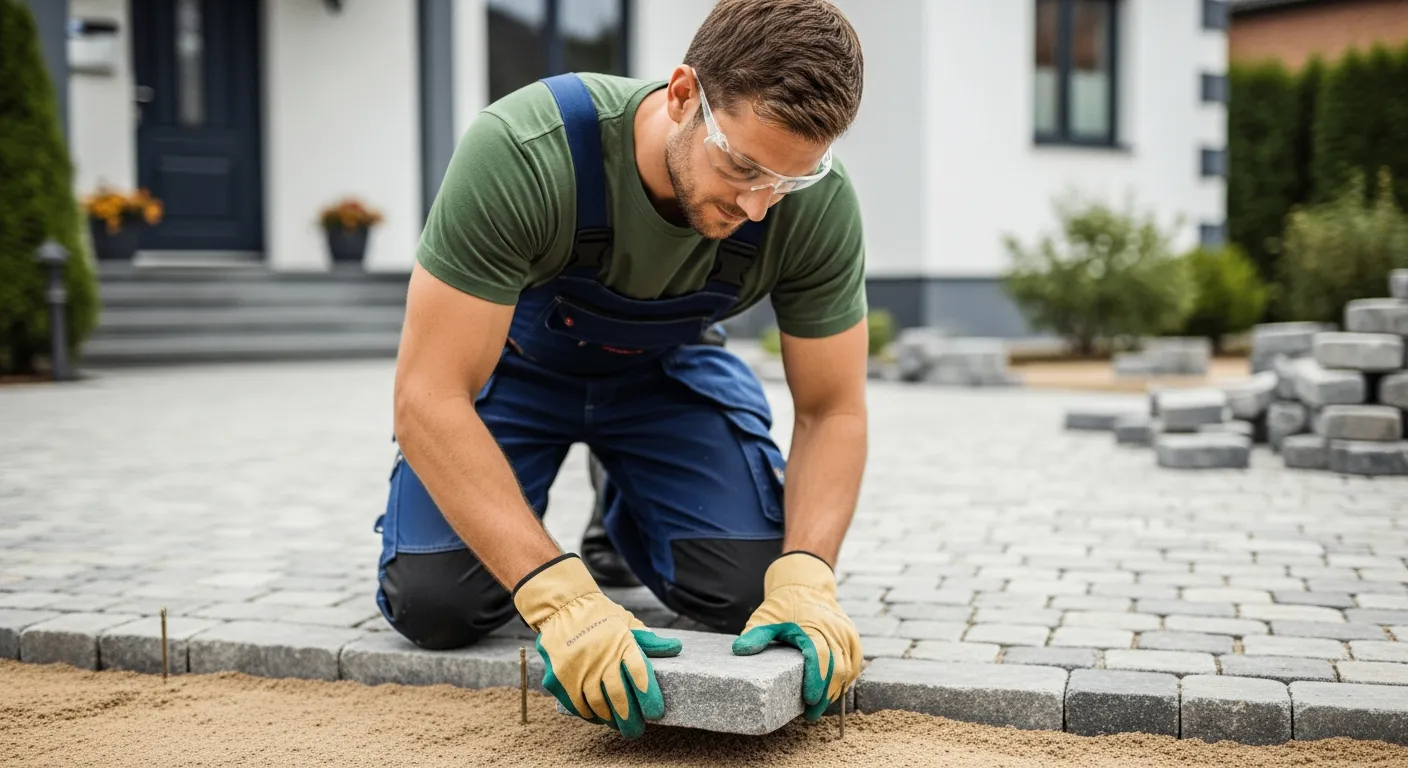
Granite cobblestones are a popular choice due to their durability and classic look. Other options include bluestone, sandstone, and even reclaimed cobblestones for a more rustic appearance.
Consider the color of the cobblestones in relation to your home’s exterior. A harmonious color scheme can create a cohesive and visually appealing look.
Think about the pattern you want to create with the cobblestones. Different patterns can affect the overall look and feel of the driveway.
A running bond pattern is simple and classic, while a herringbone pattern adds a touch of elegance. A circular or fan pattern can create a more dramatic and eye-catching effect.
Factor in the slope of your driveway and how it will affect drainage. Proper drainage is essential to prevent water from pooling on the surface and causing damage.
Consult with a landscape designer or contractor for expert advice on your driveway design. They can provide valuable insights and help you avoid potential pitfalls.
Obtain any necessary permits before starting your project. Local regulations may require permits for driveway installations, so it’s important to check with your city or county.
Sketch out your design on paper or use a computer-aided design (CAD) program. Visualizing your design can help you make informed decisions and ensure a satisfactory outcome.
Consider adding decorative elements to your driveway design, such as borders or accents. These elements can add visual interest and personalize your driveway.
Think about incorporating lighting into your driveway design. Low-voltage lighting can enhance safety and security while also adding aesthetic appeal.
Plan for proper transitions between the driveway and other surfaces, such as walkways or patios. Smooth transitions can prevent tripping hazards and create a seamless look.
Consider the long-term maintenance requirements of your chosen cobblestone material. Some materials may require more frequent sealing or cleaning than others.
Research different cobblestone suppliers and compare prices. Getting multiple quotes can help you find the best deal on materials.
Think about the environmental impact of your driveway design. Consider using permeable pavers or incorporating green spaces to reduce runoff and promote sustainability.
Preparing the Base for Your Cobblestone Driveway
Proper base preparation is critical for the longevity and stability of your cobblestone driveway. A well-prepared base prevents shifting, sinking, and other issues that can compromise the driveway’s integrity.
Start by excavating the area to a depth of at least 12 inches. This depth may vary depending on your local climate and soil conditions, so consult with a professional if needed.
After excavation, install a layer of geotextile fabric. This fabric helps prevent weed growth and stabilizes the base by preventing soil from mixing with the gravel layers.
Next, add a base layer of crushed stone or gravel, typically about 6 inches thick. This layer provides a solid foundation for the cobblestones and aids in drainage.
Compact the crushed stone using a plate compactor. Compacting ensures the base is dense and stable, which is crucial for preventing settling over time.
Add a layer of sand, about 1-2 inches thick, over the compacted gravel. This sand layer acts as a bedding for the cobblestones, allowing for minor adjustments during installation.
Ensure the excavated area is wider than the planned driveway dimensions. This allows for proper edge restraint and prevents the cobblestones from shifting outwards.
Check the soil composition before excavation. If the soil is unstable or contains organic matter, it may need to be replaced with a more suitable material.
Consider installing drainage pipes or a French drain to improve drainage. This is especially important in areas with heavy rainfall or poor soil drainage.
Use a laser level or string line to ensure the base is level and has the proper slope for drainage. A consistent slope is essential for preventing water from pooling on the driveway.
Compact the crushed stone in multiple layers, rather than all at once. This ensures thorough compaction and prevents voids from forming in the base.
Use a geotextile fabric specifically designed for driveway applications. These fabrics are more durable and resistant to tearing than standard landscaping fabric.
Choose a crushed stone with a consistent particle size. This will help ensure uniform compaction and prevent settling.
Consider using a vibratory plate compactor for optimal compaction. These compactors are more effective than hand tampers at achieving a dense and stable base.
Protect the base from erosion during construction. Cover the excavated area with plastic sheeting if rain is expected.
Allow the base to settle for a few days before installing the cobblestones. This allows any remaining settling to occur before the driveway is completed.
Add edge restraints to the perimeter of the driveway. Edge restraints prevent the cobblestones from shifting and provide a finished look.
Consider using a concrete or paver edging for added durability. These materials are more resistant to damage than plastic edging.
Ensure the sand layer is evenly distributed and compacted. This will provide a smooth and stable bedding for the cobblestones.
Use a screed board to level the sand layer. This will help ensure a consistent depth and prevent unevenness in the finished driveway.
Essential Tools and Materials for Cobblestone Installation
Having the right tools and materials on hand will make the cobblestone driveway installation process smoother and more efficient. Gathering everything beforehand can save you time and frustration.
Ensure you have all the necessary items before starting the installation. This preparation can prevent delays and ensure a professional finish.
| Tool/Material | Description | Purpose |
|---|---|---|
| Cobblestones | Granite, bluestone, etc. | Paving material |
| Crushed Stone | Gravel for base layer | Provides stable foundation |
| Geotextile Fabric | Weed barrier | Prevents weed growth |
| Sand | Bedding layer | Allows for adjustments |
| Plate Compactor | Machine for compacting | Ensures base stability |
| Rubber Mallet | Hammering cobblestones | Prevents damage |
| Level | Tool for leveling | Ensures even surface |
| Measuring Tape | For accurate measurements | Planning and layout |
| Shovel | For moving materials | Excavation and spreading |
| Wheelbarrow | For transporting materials | Moving gravel and sand |
Acquiring these tools and materials is a significant step in the cobblestone driveway installation process. Proper preparation ensures a smoother and more efficient project.
Invest in high-quality tools for best results. Durable tools will make the job easier and last longer.
Consider renting a plate compactor if you don’t own one. Renting can be more cost-effective than purchasing, especially for a one-time project.
Purchase extra cobblestones to account for cuts and breakage. Having extra stones on hand will prevent delays if you run short.
Wear appropriate safety gear, including gloves, safety glasses, and work boots. Protecting yourself from injury is essential during any construction project.
Use a string line to ensure straight lines and accurate spacing. A string line can help you maintain consistency throughout the installation.
Keep a broom and dustpan handy for cleaning up spills and debris. A clean workspace will make the job more enjoyable and prevent accidents.
Use a utility knife for cutting geotextile fabric and other materials. A sharp knife will make clean and precise cuts.
Have a helper available to assist with heavy lifting and other tasks. Working with a partner can make the job easier and faster.
Use a paver saw or chisel for cutting cobblestones. These tools are designed for cutting stone and will provide clean, accurate cuts.
Store materials in a dry and protected area. This will prevent damage and ensure they are ready for use when needed.
Use a tamper for compacting small areas and corners. A hand tamper can be useful for reaching areas that are difficult to access with a plate compactor.
Keep a first-aid kit on hand in case of minor injuries. Being prepared for accidents is always a good idea.
Use a leveling sand specifically designed for paver installations. This type of sand is finer and easier to work with than standard sand.
Consider using polymeric sand for filling the joints between the cobblestones. Polymeric sand hardens when wet, preventing weed growth and erosion.
Use a sealant specifically designed for cobblestones. A sealant will protect the stones from staining and weathering.
Have a water hose and spray nozzle available for wetting the sand and cleaning the driveway. Water is essential for compacting the sand and activating polymeric sand.
Laying the Cobblestones
Laying the cobblestones is where your driveway design comes to life. This step requires patience, precision, and an eye for detail to achieve a beautiful and functional surface.
Start by positioning the first row of cobblestones along a straight edge, such as the edge of your garage or a string line. This row will serve as your guide for the rest of the driveway.
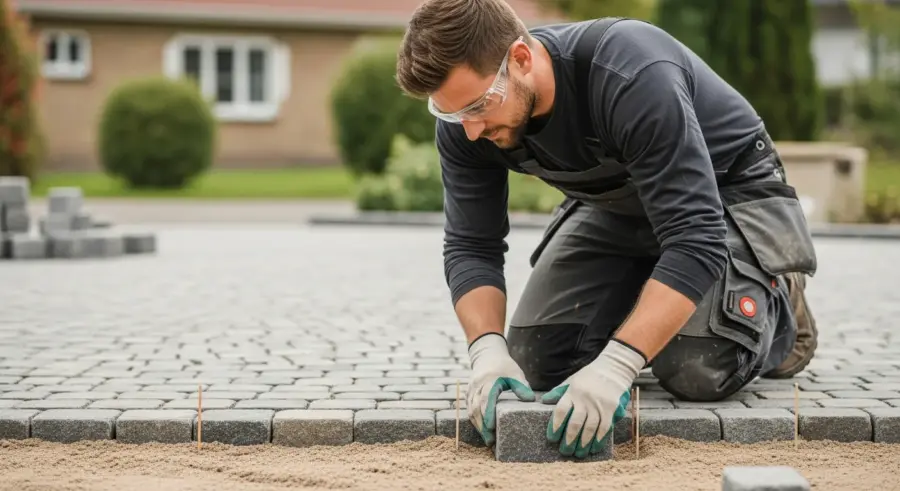
Set each cobblestone into the sand bed, leaving a small gap between each stone. The gap should be consistent, typically about 1/2 to 1 inch, to allow for joint filling later.
Use a rubber mallet to gently tap each cobblestone into place. Avoid using a metal hammer, as it can damage the stones. A rubber mallet provides a softer impact, ensuring the stones are set evenly without cracking.
Check the level of each cobblestone using a level. Make sure each stone is flush with its neighbors to create a smooth, even surface. Adjust the sand bed beneath each stone as needed to achieve the correct level.
Continue laying the cobblestones row by row, maintaining the desired pattern and spacing. Common patterns include running bond, herringbone, and fan patterns, each offering a different aesthetic.
Work in small sections to maintain consistency. Focus on laying a few rows at a time before moving on to the next section.
Use a string line to ensure straight rows. A string line can help you maintain alignment and prevent crooked rows.
Cut cobblestones as needed to fit around curves and edges. Use a paver saw or chisel for clean and accurate cuts.
Dry-lay the cobblestones before setting them in the sand. This allows you to visualize the pattern and make any necessary adjustments before committing to the final layout.
Stagger the joints between rows for added stability. Staggering the joints prevents long, continuous lines that can weaken the driveway.
Use a consistent joint width throughout the driveway. Consistent joint widths create a uniform and professional look.
Check the pattern frequently to ensure it is consistent and accurate. Regular checks can help you catch and correct any errors early on.
Use a rubber mallet to gently adjust the position of cobblestones as needed. Avoid using excessive force, as this can damage the stones.
Work from the inside out to avoid disturbing the sand bed. This will help maintain the level and prevent unevenness.
Use a level to check the slope of the driveway and ensure proper drainage. A slight slope is essential for preventing water from pooling on the surface.
Consider using a border of different colored cobblestones to add visual interest. A border can define the edges of the driveway and create a finished look.
Take breaks as needed to avoid fatigue. Laying cobblestones can be physically demanding, so it’s important to pace yourself.
Clean up any spills or debris immediately. A clean workspace will make the job more enjoyable and prevent accidents.
Protect the laid cobblestones from damage during construction. Cover the driveway with plywood or tarps if heavy equipment is being used nearby.
Filling the Joints and Compacting the Driveway
After laying the cobblestones, filling the joints is crucial for stabilizing the driveway and preventing weed growth. This step also enhances the overall appearance by creating a cohesive surface.
Once the joints are filled, compacting the entire driveway ensures that the cobblestones are firmly set and the joints are properly filled. This final compaction is vital for the driveway’s long-term stability.
- Spread sand over the entire cobblestone surface
- Sweep the sand into the joints between the stones
- Use a plate compactor with a rubber mat to compact the driveway
- Add more sand as needed to fill any remaining gaps
- Water the driveway lightly to help the sand settle
Proper joint filling and compaction are essential for a durable and attractive cobblestone driveway. These steps ensure that the stones are secure and the surface is stable.
Use a fine sand for filling the joints. Fine sand will settle more easily and create a tighter seal.
Sweep the sand into the joints in multiple directions. This ensures that all the joints are completely filled.
Use a soft-bristled broom to avoid scratching the cobblestones. A soft broom will gently sweep the sand without damaging the surface.
Compact the driveway in multiple passes. Multiple passes will ensure thorough compaction and prevent settling.
Use a plate compactor with a rubber mat to protect the cobblestones from damage. The rubber mat will cushion the impact and prevent cracking or chipping.
Add more sand to the joints after each pass with the plate compactor. This will fill any gaps that may have formed during compaction.
Water the driveway lightly and evenly. Avoid overwatering, as this can wash away the sand.
Allow the sand to dry completely before sealing the driveway. Sealing the driveway while the sand is still wet can trap moisture and cause problems.
Consider using polymeric sand for filling the joints. Polymeric sand hardens when wet, preventing weed growth and erosion.
Follow the manufacturer’s instructions for applying polymeric sand. Proper application is essential for achieving the desired results.
Use a brush to remove any excess polymeric sand from the surface of the cobblestones. Excess sand can stain the stones if it is not removed promptly.
Water the driveway thoroughly to activate the polymeric sand. The water will cause the sand to harden and create a durable seal.
Allow the polymeric sand to cure completely before allowing traffic on the driveway. The curing time can vary depending on the product and the weather conditions.
Inspect the joints regularly and add more sand as needed. Over time, the sand may settle or erode, requiring occasional replenishment.
Use a joint stabilizer to prevent sand from washing away. A joint stabilizer can help keep the sand in place and prevent weed growth.
Consider using a sealant to protect the cobblestones and the joints. A sealant will help prevent staining and weathering.
Reapply sealant every few years to maintain the driveway’s protection. The frequency of resealing depends on the type of sealant used and the amount of traffic the driveway receives.
Sealing and Protecting Your Cobblestone Driveway
Sealing your cobblestone driveway provides an extra layer of protection against the elements and helps maintain its appearance. A good sealant can prevent staining, fading, and other types of damage.
Before sealing, make sure the driveway is clean and dry. Remove any dirt, debris, or stains to ensure the sealant adheres properly.
Apply a high-quality sealant designed for use on cobblestones. Follow the manufacturer’s instructions for application, as different sealants may require different techniques.
Use a brush, roller, or sprayer to apply the sealant evenly across the entire surface. Avoid applying too much sealant at once, as this can result in a sticky or uneven finish.
Allow the sealant to dry completely before allowing traffic on the driveway. The drying time can vary depending on the type of sealant and the weather conditions, so be sure to check the manufacturer’s recommendations.
Consider applying a second coat of sealant for added protection. A second coat can provide enhanced resistance to stains and wear, extending the life of your cobblestone driveway.
Choose a sealant that is appropriate for the type of cobblestone you have. Different types of stone may require different types of sealant.
Test the sealant on a small, inconspicuous area before applying it to the entire driveway. This will allow you to check for any adverse reactions or discoloration.
Apply the sealant on a dry, sunny day with temperatures above 50 degrees Fahrenheit. This will ensure that the sealant dries properly.
Use a sealant that is resistant to UV rays. UV rays can cause the sealant to break down and fade over time.
Apply the sealant in thin, even coats. This will prevent the sealant from pooling and creating an uneven finish.
Allow each coat of sealant to dry completely before applying the next coat. This will ensure that each coat adheres properly.
Avoid applying sealant to wet or damp cobblestones. Moisture can prevent the sealant from adhering properly.
Clean up any spills or drips of sealant immediately. Sealant can be difficult to remove once it has dried.
Protect the sealed driveway from traffic for at least 24 hours. This will allow the sealant to cure properly.
Consider using a penetrating sealant. Penetrating sealants soak into the stone and provide long-lasting protection.
Use a sealant that is breathable. Breathable sealants allow moisture to escape from the stone, preventing damage.
Consider using a color-enhancing sealant. Color-enhancing sealants can enhance the natural color of the cobblestones.
Reapply sealant every few years to maintain the driveway’s protection. The frequency of resealing depends on the type of sealant used and the amount of traffic the driveway receives.
Maintaining Your Cobblestone Driveway
Regular maintenance is key to keeping your cobblestone driveway looking its best and ensuring its longevity. Simple maintenance tasks can prevent costly repairs and keep your driveway in top condition.
Sweep or blow off the driveway regularly to remove dirt, leaves, and other debris. This prevents buildup that can stain or damage the stones.
Clean any spills or stains as soon as possible. Use a mild detergent and water to scrub away stains, avoiding harsh chemicals that can damage the cobblestones.
Check for weeds growing in the joints and remove them promptly. Weeds can not only detract from the appearance of your driveway but also destabilize the stones over time.
Reapply sealant every few years to maintain the driveway’s protection. The frequency of resealing depends on the type of sealant used and the amount of traffic the driveway receives.
Inspect the driveway regularly for any signs of damage, such as loose or cracked stones. Repair any damage promptly to prevent it from worsening.
Use a pressure washer to clean the driveway periodically. A pressure washer can remove stubborn dirt and stains, but be careful not to damage the stones.
Avoid using de-icing salts on the driveway. De-icing salts can damage the stones and cause them to crack or crumble.
Use a snow blower or shovel to remove snow from the driveway. Be careful not to scratch the stones with the snow removal equipment.
Trim any overhanging trees or shrubs to prevent leaves and debris from falling on the driveway. This will reduce the amount of maintenance required.
Avoid parking heavy vehicles on the driveway. Heavy vehicles can damage the stones and cause them to sink or shift.
Repair any cracks or chips in the stones as soon as possible. This will prevent the damage from worsening and protect the stones from further deterioration.
Replace any loose or missing stones promptly. This will prevent the surrounding stones from shifting and destabilizing the driveway.
Consider using a weed barrier fabric under the stones to prevent weed growth. This will reduce the amount of weeding required.
Use a joint stabilizer to prevent sand from washing away. This will help keep the joints filled and prevent weed growth.
Consider using a sealant with a UV inhibitor. This will protect the stones from fading and discoloration caused by the sun.
Reapply polymeric sand to the joints as needed. Polymeric sand can help prevent weed growth and stabilize the stones.
Inspect the driveway regularly for any signs of settling or unevenness. This can indicate a problem with the base and may require repair.
Consider hiring a professional to inspect and maintain your cobblestone driveway. A professional can identify potential problems and provide expert advice.
Addressing Common Cobblestone Driveway Issues
Even with careful installation and maintenance, cobblestone driveways can sometimes experience common issues. Knowing how to address these problems can help you keep your driveway in good condition.
One common issue is settling, where sections of the driveway sink or become uneven. This can be caused by inadequate base preparation or soil erosion.
To fix settling, remove the affected cobblestones and add more crushed stone or sand to level the base. Compact the base thoroughly before relaying the stones.
Another common problem is weed growth in the joints between the stones. Regular weeding and the use of polymeric sand can help prevent this issue.
Cracking or chipping of cobblestones can occur due to heavy traffic or extreme weather conditions. Replace damaged stones as soon as possible to prevent further damage.
Staining from oil, rust, or other substances can also be a concern. Clean stains promptly with appropriate cleaning solutions and consider sealing the driveway to prevent future staining.
If settling is extensive, it may be necessary to rebuild the entire base. This is a more involved process but will provide a long-term solution.
Use a weed torch to burn away weeds in the joints. This is a quick and effective way to remove weeds without using chemicals.
Fill cracks and chips with a patching compound designed for stone. This will help prevent further damage and restore the appearance of the stones.
Use a rust remover to remove rust stains from the driveway. Follow the manufacturer’s instructions carefully to avoid damaging the stones.
Apply a degreaser to remove oil stains from the driveway. Scrub the area thoroughly and rinse with water.
If efflorescence (a white, powdery substance) appears on the surface of the stones, clean it with a solution of water and vinegar. Scrub the area gently and rinse with water.
Consider using a pressure washer to remove stubborn stains and dirt. Be careful not to damage the stones with the high-pressure spray.
If the cobblestones are shifting or becoming uneven, add edge restraints to prevent further movement. Edge restraints will help stabilize the stones and maintain the driveway’s shape.
Repair any drainage problems to prevent water from pooling on the driveway. Poor drainage can lead to settling, weed growth, and other issues.
Consider hiring a professional to repair any major damage to the driveway. A professional can ensure that the repairs are done correctly and prevent further problems.
Use a sealant to protect the stones from staining and weathering. A sealant will help keep the driveway looking its best for years to come.
Reapply sealant every few years to maintain the driveway’s protection. The frequency of resealing depends on the type of sealant used and the amount of traffic the driveway receives.
Inspect the driveway regularly for any signs of damage or problems. Early detection can prevent minor issues from becoming major repairs.
Conclusion
Installing a cobblestone driveway is a significant undertaking, but the results are well worth the effort. A properly installed and maintained cobblestone driveway can add timeless beauty and value to your home.
By following this comprehensive guide, you can confidently tackle your cobblestone driveway installation project. Remember to plan carefully