A stone mailbox is a beautiful and durable addition to any home, enhancing curb appeal and providing a secure place for your mail. While it might seem like a daunting project, stone mailbox installation can be a manageable DIY task with the right planning and tools. This guide will walk you through each step, ensuring a successful and attractive stone mailbox construction.
From selecting the perfect stones to setting the final touches, we’ll cover everything you need to know. Let’s get started on creating a stunning stone mailbox that will last for years to come.
A well-constructed stone mailbox not only serves a practical purpose but also adds a touch of elegance and permanence to your property. Investing the time and effort into proper installation will pay off with a mailbox that stands the test of time and enhances your home’s overall aesthetic.
Planning Your Stone Mailbox Design
Before you begin, it’s important to have a clear plan for your stone mailbox design. Consider the style of your home and the surrounding area to choose stones that complement the existing aesthetics.
Think about the size and shape of the mailbox you want to create, as well as any additional features like a newspaper holder or decorative elements. Sketching out your design and gathering inspiration from other stone mailboxes can help you visualize the final product and make informed decisions about materials and construction techniques.
Also, research local regulations regarding mailbox size, placement, and construction materials. Some areas may have specific requirements to ensure visibility and accessibility for postal workers.
Understanding these regulations ahead of time can save you from potential headaches and ensure your stone mailbox installation is compliant with local codes. Take your time in planning your stone mailbox design, considering both aesthetics and practicality.
Consider the overall dimensions carefully. A mailbox that is too large can look out of place, while one that is too small may not be practical for your mail volume.
Think about the stone type and color you want to use. Different types of stone offer varying textures and appearances, so choose one that complements your home’s exterior.
Also, consider the surrounding landscaping. Integrating your stone mailbox with the existing landscape can create a cohesive and visually appealing look.
Think about adding a small flower bed around the base of the mailbox. This can soften the look of the stone and add a touch of color to your yard.
Consider the long-term maintenance of your design. Choose materials that are durable and easy to clean to ensure your stone mailbox looks its best for years to come.
Remember to factor in the weight of the stone when planning your design. A larger mailbox will require a more substantial foundation to support the added weight.
Don’t forget to think about the functionality of your mailbox. Ensure that the mailbox door opens and closes easily and that the mailbox is easily accessible for both you and your mail carrier.
Finally, consider the overall style of your home and choose a design that complements it. A well-designed stone mailbox can add a touch of elegance and sophistication to your property.
Gathering Materials and Tools
Once you have a design in mind, it’s time to gather the necessary materials and tools for your stone mailbox diy project. You’ll need a variety of stones, mortar mix, a mailbox insert, and a foundation material like gravel or concrete.
For tools, essential items include a shovel, level, trowel, mixing tub, rubber mallet, chisel, and safety glasses. Depending on the complexity of your design, you may also need a masonry saw to cut stones to specific sizes and shapes.
Purchasing high-quality materials is crucial for ensuring the longevity and durability of your stone mailbox. Invest in a reputable mortar mix that is specifically designed for stone masonry, and choose stones that are weather-resistant and visually appealing.
Safety should always be a priority when working with stone and mortar. Wear safety glasses to protect your eyes from debris, and use gloves to prevent skin irritation from the mortar mix. With the right materials and tools on hand, you’ll be well-prepared to tackle the stone mailbox installation process.
When selecting stones, consider the size, shape, and color variations. A mix of different sizes and shapes can create a more natural and visually appealing look.
Consider purchasing extra stones to account for breakage or mistakes during the construction process. It’s always better to have too many stones than not enough.
Choose a mailbox insert that is durable and weather-resistant. A galvanized steel or plastic mailbox is a good option.
Make sure you have the correct type of mortar mix for your climate. Some mortar mixes are better suited for cold weather, while others are better suited for hot weather.
A wheelbarrow can be helpful for transporting stones and mortar to the construction site. This will save you time and energy.
A stiff brush can be used to clean the stones before and after installation. This will help remove dirt and debris.
A tape measure is essential for ensuring accurate measurements. This will help you create a mailbox that is the correct size and shape.
Consider renting a masonry saw if you need to cut a lot of stones. This will make the job much easier and faster. A circular saw with a diamond blade can also be used.
Preparing the Foundation
A solid foundation is essential for a stable and long-lasting stone mailbox. Start by digging a hole that is at least 6 inches deep and wider than the base of your mailbox structure.
Fill the hole with a layer of gravel to provide drainage and prevent moisture from seeping into the stone structure. For added stability, you can pour a concrete pad on top of the gravel layer, ensuring it is level and smooth.
| Foundation Type | Pros | Cons |
|---|---|---|
| Gravel | Good drainage, easy to install | Less stable than concrete |
| Concrete Pad | Very stable, durable | Requires more effort to install |
| Pre-Cast Concrete Block | Easy to level, moderate stability | Can be expensive, may shift over time |
| Combination (Gravel & Concrete) | Excellent drainage and stability | Most labor-intensive, highest cost |
Allow the concrete to cure completely before proceeding with the stone construction, following the manufacturer’s instructions for curing time. A well-prepared foundation will provide a solid base for your stone mailbox, preventing it from shifting or settling over time.
Make sure the hole is deep enough to prevent frost heave. In colder climates, frost heave can cause the foundation to crack and shift.
Use a tamper to compact the gravel layer. This will help create a more stable base for the concrete pad.
Reinforce the concrete pad with rebar for added strength. This is especially important for larger or heavier mailboxes.
Use a level to ensure the concrete pad is perfectly level. This will make it easier to build the stone structure.
Protect the concrete pad from the elements while it is curing. Cover it with plastic sheeting to prevent it from drying out too quickly.
Consider using a pre-cast concrete block as a foundation. This can save you time and effort compared to pouring a concrete pad.
If using a pre-cast concrete block, make sure it is properly sized for your mailbox. It should be wide enough and deep enough to support the weight of the stone structure.
Regardless of the foundation type, ensure it extends beyond the footprint of the mailbox structure. This will provide additional stability.
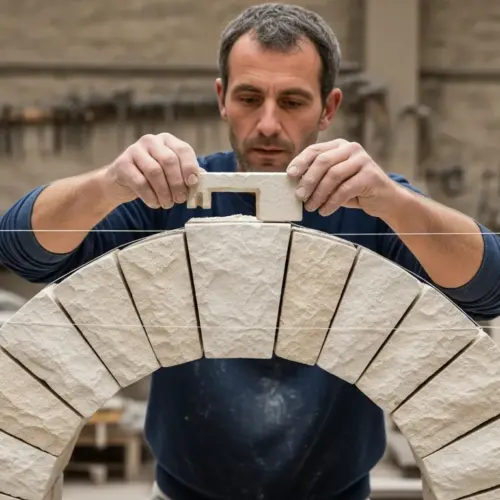
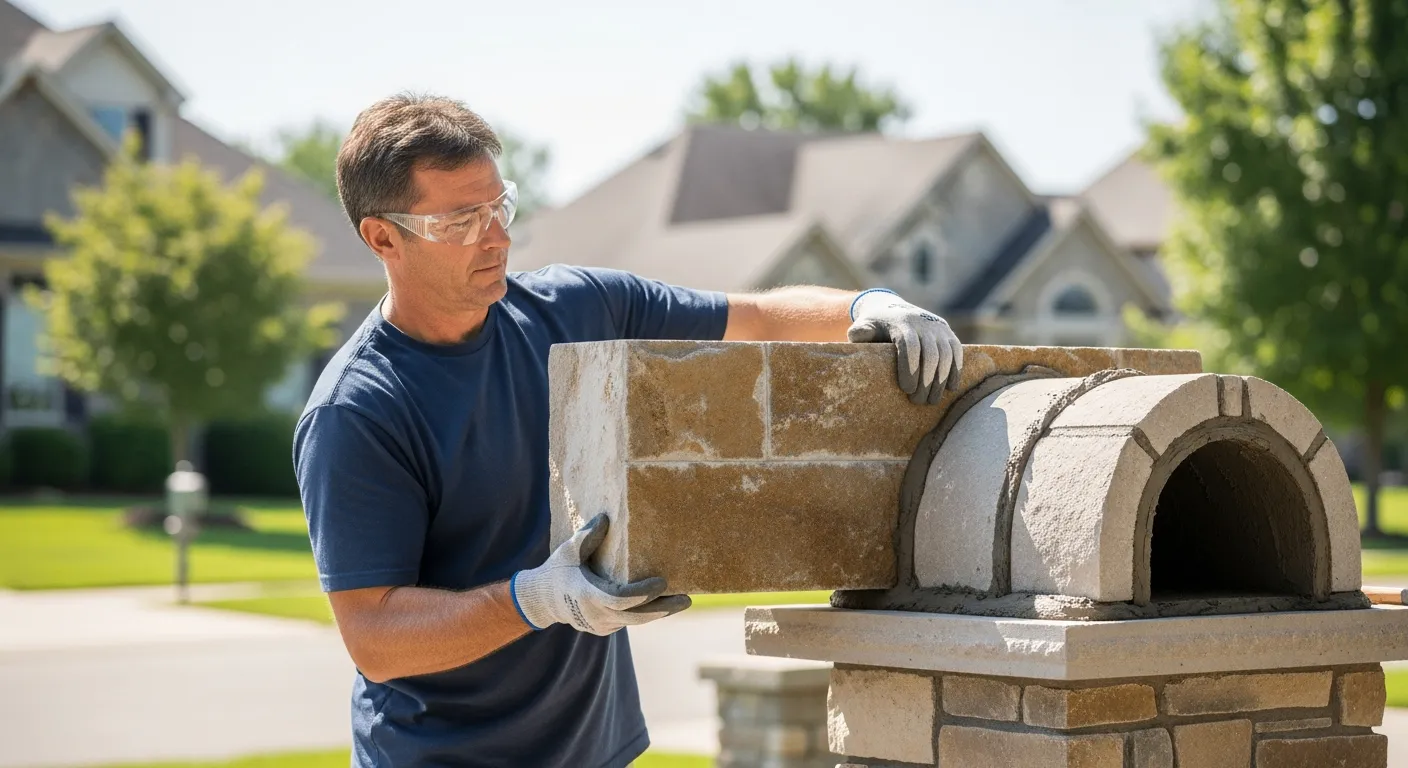
Building the Stone Structure
With the foundation in place, you can begin building the stone structure of your mailbox. Start by mixing the mortar according to the manufacturer’s instructions, achieving a consistency similar to thick peanut butter.
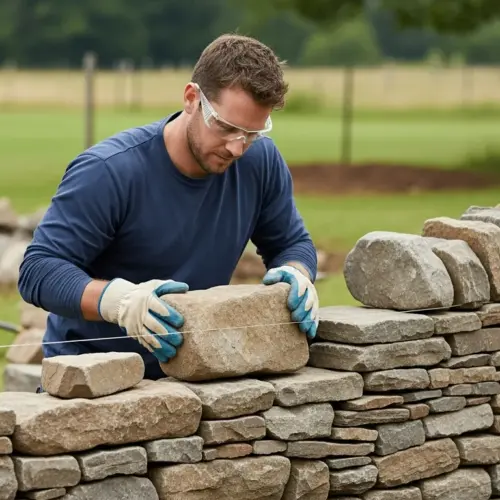
Apply a layer of mortar to the foundation and carefully place the first row of stones, ensuring they are level and properly aligned. Continue adding stones, one row at a time, using mortar to secure each stone in place.
As you build, stagger the joints between the stones to create a stronger and more visually appealing structure. Use a level to check the alignment of each row, and make adjustments as needed to maintain a consistent and even surface.
If necessary, use a chisel or masonry saw to shape stones to fit specific areas of the design. Remember to leave an opening for the mailbox insert, ensuring it is properly sized and positioned.
Take your time and work carefully, as the stone structure is the main visual element of your stone mailbox. Pay attention to detail and strive for a clean and professional finish.
Properly constructed stone work will not only look great but will also provide a durable and weather-resistant enclosure for your mailbox. The beauty of stone mailbox diy comes from the unique placement of each stone.
Use a pointing trowel to create neat and consistent mortar joints. This will give your mailbox a professional look.
Clean any excess mortar from the stone surfaces as you work. This will prevent the mortar from hardening and becoming difficult to remove.
Use a rubber mallet to gently tap the stones into place. This will help ensure they are properly seated in the mortar.
Consider using different sizes and shapes of stones to create a more natural and organic look. Avoid using stones that are too uniform in size and shape.
Pay attention to the color variations in the stones. Try to distribute the different colors evenly throughout the structure.
Use a story pole to ensure consistent row heights. This will help you create a mailbox that is level and square.
Consider adding a keystone to the top of the mailbox opening. This will add a touch of elegance and sophistication.
Allow the mortar to cure completely before applying any weight to the structure. This will help prevent cracking and settling.
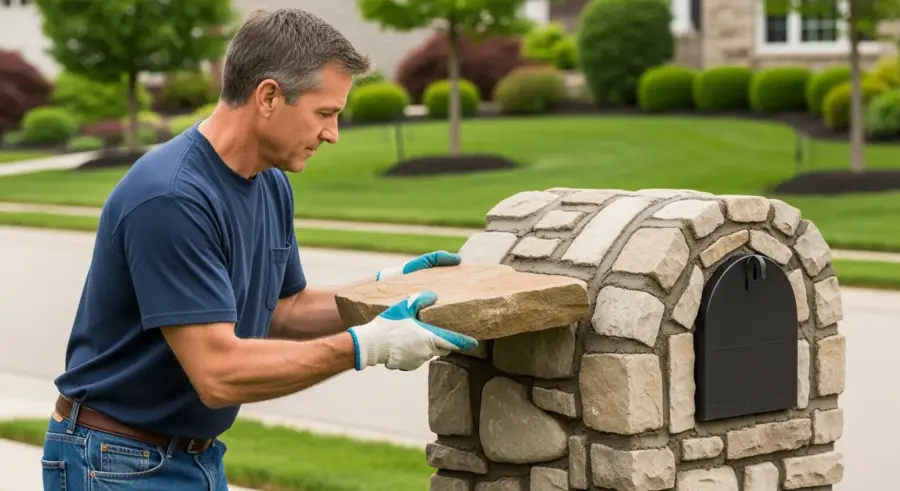
Installing the Mailbox
Once the stone structure is complete, it’s time to install the mailbox insert. Carefully slide the mailbox into the opening you created during the stone construction process.
Use shims or additional mortar to secure the mailbox in place, ensuring it is level and properly aligned. Check that the mailbox door opens and closes smoothly, and make any necessary adjustments.
- Ensure proper alignment
- Secure with mortar or shims
- Test the door mechanism
- Check for weather tightness
- Allow adequate drying time
Allow the mortar to dry completely before using the mailbox, following the manufacturer’s instructions for drying time. A properly installed mailbox will be secure, functional, and aesthetically pleasing, adding the finishing touch to your stone mailbox construction.
Use stainless steel screws to secure the mailbox to the stone structure. This will prevent rust and corrosion.
Consider adding a rubber gasket around the mailbox opening to prevent water from entering the stone structure. This will help protect the mortar and stones from damage.
Make sure the mailbox door is properly aligned with the opening. If it is not, it may be difficult to open and close.
Test the mailbox door in different weather conditions. Make sure it opens and closes smoothly even when it is wet or cold.
Consider adding a lock to the mailbox door to prevent theft. This is especially important if you receive valuable mail.
Make sure the mailbox is easily accessible for your mail carrier. It should be located near the street and free of obstructions.
Check with your local post office for any specific requirements for mailbox installation. They may have regulations regarding mailbox size, placement, and visibility.
Consider adding a small flag to the mailbox to signal to your mail carrier that you have outgoing mail. This can be a helpful addition.
Finishing Touches and Sealing
After the mailbox is installed, it’s time to add the finishing touches and seal the stone structure. Use a trowel to smooth out any excess mortar and clean the stone surfaces with a brush and water.
Consider applying a stone sealer to protect the stone from moisture and weathering, enhancing its longevity and appearance. Choose a sealer that is specifically designed for stone masonry and follow the manufacturer’s instructions for application.
You can also add decorative elements to your stone mailbox, such as address numbers, plants, or lighting. These personal touches can enhance the overall aesthetic and make your stone mailbox truly unique.
Regular maintenance, such as cleaning and resealing, will help keep your stone mailbox looking its best for years to come. Taking the time to add these finishing touches and seal the stone structure will ensure a beautiful and durable stone mailbox that enhances your home’s curb appeal.
Addressing the aesthetics will make your stone mailbox diy creation truly stand out. Consider adding a small potted plant on top of the mailbox.
Choose address numbers that are easy to read and complement the style of your mailbox. Reflective numbers can improve visibility at night.
Consider adding a small solar-powered light to illuminate your address numbers. This will make it easier for emergency responders to find your home.
Plant flowers or shrubs around the base of the mailbox to soften the look of the stone. Choose plants that are low-maintenance and drought-tolerant.
Add a decorative stone or paver pathway leading to the mailbox. This will make it easier to access the mailbox in all weather conditions.
Consider adding a small birdhouse or bird feeder to the top of the mailbox. This will attract birds to your yard and add a touch of whimsy.
Apply a clear coat of sealant to the address numbers to protect them from fading. This will help them last longer.
Clean the stone surfaces regularly to remove dirt and grime. This will help maintain the beauty of your mailbox.
Inspect the mortar joints regularly for cracks or damage. Repair any damage promptly to prevent further deterioration.
Maintaining Your Stone Mailbox
Regular maintenance is key to preserving the beauty and integrity of your stone mailbox. Inspect the structure annually for any signs of damage, such as cracks in the mortar or loose stones.
Address any issues promptly to prevent further deterioration. Clean the stone surfaces regularly with a mild detergent and water to remove dirt and grime.
Reapply stone sealer every few years to protect the stone from moisture and weathering. Trim any vegetation around the mailbox to prevent it from blocking access or causing damage to the stone structure.
By following these maintenance tips, you can ensure that your stone mailbox remains a beautiful and functional addition to your home for many years to come. With a little care, your stone mailbox installation will last a lifetime.
Use a soft brush to clean the stone surfaces. Avoid using harsh chemicals or abrasive cleaners.
Inspect the mortar joints for signs of erosion. If the mortar is crumbling, it may need to be repointed.
Remove any weeds or grass that are growing around the base of the mailbox. This will prevent them from damaging the stone structure.
Check the mailbox door for signs of rust or corrosion. If necessary, clean and repaint the door.
Lubricate the mailbox door hinges regularly to keep them from squeaking. Use a silicone-based lubricant.
Remove any snow or ice that accumulates on the mailbox during the winter. This will prevent damage to the stone structure.
Inspect the foundation for signs of settling or shifting. If necessary, add additional gravel or concrete to stabilize the foundation.
Consider hiring a professional stone mason to inspect your mailbox every few years. They can identify and repair any potential problems before they become serious.
Addressing Common Issues
Even with careful planning and execution, you may encounter some common issues during or after your stone mailbox installation. One frequent problem is mortar cracking, which can be caused by improper mixing, excessive moisture, or temperature fluctuations.
To repair cracks, remove the damaged mortar and replace it with fresh mortar, ensuring a proper bond with the surrounding stones. Another issue is stone discoloration, which can occur due to exposure to the elements or staining from organic matter.
Clean the affected stones with a specialized stone cleaner and consider applying a protective sealer to prevent future discoloration. If stones become loose or dislodged, carefully remove them and reattach them with fresh mortar, ensuring they are properly aligned and secured.
By addressing these common issues promptly and effectively, you can maintain the structural integrity and aesthetic appeal of your stone mailbox. Don’t be afraid to consult with a professional stone mason if you encounter more complex problems that you’re unable to resolve yourself.
Remember, a little maintenance can go a long way in preserving your beautiful stone mailbox. Stone mailbox diy is a marathon, not a sprint.
Efflorescence, a white powdery deposit on the stone surface, can occur due to mineral salts in the mortar. Clean it with a wire brush and a solution of water and vinegar.
Staining from rust can be removed with a commercial rust remover. Follow the manufacturer’s instructions carefully.
Algae or moss growth can be removed with a solution of bleach and water. Be careful not to damage the stone or mortar.
If the mailbox door is sticking, try lubricating the hinges with a silicone-based lubricant. If that doesn’t work, you may need to adjust the hinges.
If the mailbox is leaning, the foundation may be settling. Add additional gravel or concrete to stabilize the foundation.
If the address numbers are fading, repaint them with a durable exterior paint. Consider using reflective paint for better visibility at night.
If the mailbox is damaged by vandals, repair the damage as soon as possible. This will prevent further damage and discourage future vandalism.
Keep an eye out for insect infestations, such as ants or termites. Treat any infestations promptly to prevent damage to the stone structure.
Conclusion
Installing a stone mailbox is a rewarding project that can significantly enhance your home’s curb appeal. By following this step-by-step guide, you can create a beautiful and durable stone mailbox that will last for years to come.
Remember to plan your design carefully, gather the necessary materials and tools, prepare a solid foundation, and take your time in building the stone structure. With attention to detail and a commitment to quality, you can achieve a professional-looking stone mailbox that adds value and character to your property.
Enjoy the process of creating something unique and lasting, and take pride in the craftsmanship of your stone mailbox installation. A stone mailbox not only serves a practical purpose but also stands as a testament to your creativity and dedication to enhancing your home’s beauty.
Now you’re equipped with the knowledge and confidence to embark on your own stone mailbox diy adventure. Get started today and transform your mailbox into a stunning focal point of your property!
The satisfaction of completing a stone mailbox diy project is unparalleled. You’ll have a unique and durable mailbox that you can be proud of for years to come.
Remember to share your creation with friends and neighbors. They’ll be impressed by your craftsmanship and creativity.
Consider taking photos of the project from start to finish. This will be a great way to document your progress and share your experience with others.
And finally, enjoy your new stone mailbox! It’s a beautiful and functional addition to your home that will enhance your curb appeal for years to come.