Creating a stone planter is a rewarding project that adds a touch of natural beauty to your garden or patio. With some basic stone planter construction knowledge and a bit of effort, you can build a durable and attractive home for your favorite plants.
This guide will walk you through the process of stone planter diy, from selecting the right materials to planting your flowers or herbs. Get ready to enhance your outdoor space with a touch of rustic elegance.
A stone planter is more than just a container for plants, it’s a statement piece that reflects your personal style. Building a stone planter allows you to customize the size, shape, and type of stone to perfectly complement your home and garden.
Designing Your Stone Planter
Before you start gathering materials, take some time to plan the design of your stone planter. Consider the size and shape that will best suit your space and the types of plants you want to grow.
A small, square planter might be perfect for herbs on a patio, while a larger, round planter could be a focal point in your garden. Sketch out your ideas on paper, noting the dimensions and any special features you want to include.
Think about the overall aesthetic you want to achieve. Do you prefer a rustic, natural look, or a more refined, contemporary design? The style of your stone planter should blend seamlessly with its surroundings.
Also, think about the weight of the planter, especially if you plan to move it. Larger stone planters can be extremely heavy, so consider building them in place or using lighter materials for the base.
Consider the location where your stone planter will reside. Will it be in full sun, partial shade, or mostly shaded? The amount of sunlight will greatly influence the types of plants that will thrive in your planter.
Think about the drainage requirements of your chosen plants. Some plants prefer well-drained soil, while others thrive in moist conditions. Your planter design should accommodate these needs.
Consider incorporating different levels or tiers into your stone planter design. This can add visual interest and allow you to showcase a variety of plants with different heights and textures.
Sketch out several different designs before settling on a final plan. Don’t be afraid to experiment with different shapes, sizes, and materials. The more you plan, the better the final result will be.
Selecting the Right Stone
The type of stone you choose will greatly influence the look and durability of your planter. There are many options available, each with its own unique characteristics.
Fieldstone, with its irregular shapes and earthy tones, is a popular choice for a natural, rustic appearance. Sandstone offers a smoother texture and a range of colors, from light beige to deep red.
Limestone is another good option, known for its durability and classic look. Consider using reclaimed stone for an eco-friendly approach and a unique, weathered appearance.
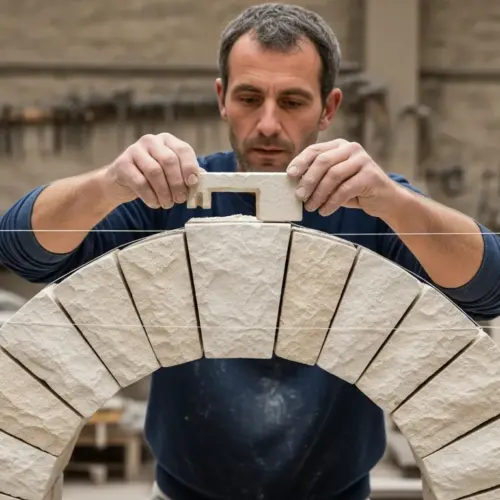
When selecting your stone, make sure to choose pieces that are relatively flat on at least one side for easy stacking. Avoid stones that are cracked or crumbling, as they will not hold up well over time.
Consider the color and texture of the stone in relation to your existing landscape. Do you want the planter to blend in seamlessly, or do you want it to stand out as a focal point?
Think about the size and weight of the stones you choose. Larger stones will be more difficult to handle, but they will also create a more substantial and durable planter.
Visit a local stone yard or quarry to see the different types of stone available in person. This will allow you to get a better feel for the color, texture, and size of the stones.
Don’t be afraid to mix and match different types of stone to create a unique and interesting look. Just make sure that the stones are compatible in terms of their size, shape, and texture.
Essential Tools and Materials
Before you begin building your stone planter diy, gather all the necessary tools and materials. Having everything on hand will make the process smoother and more efficient.
You’ll need a shovel for preparing the foundation, a level to ensure your planter is even, and a rubber mallet for gently tapping stones into place. A trowel will be useful for applying mortar, if you choose to use it, and a stiff brush for cleaning the stones.
Safety glasses and gloves are essential for protecting yourself during the construction process. A wheelbarrow or sturdy cart will help you transport the stones to your work area.
In addition to the stones themselves, you may need gravel for drainage, landscape fabric to prevent soil erosion, and mortar or construction adhesive for added stability. With the right tools and materials, you’ll be well-prepared for a successful stone planter construction project.
A measuring tape will be invaluable for ensuring accurate dimensions and spacing. A chisel and hammer may be needed for shaping or breaking stones to fit your design.
Consider renting a stone saw if you need to cut a large number of stones. This will save you time and effort, and it will also ensure that the cuts are clean and precise.
A mortar mixing tub and hoe will be necessary if you plan to use mortar. Make sure to have plenty of water on hand for mixing the mortar and cleaning your tools.
A pair of knee pads will make the job much more comfortable, especially if you’re working on a hard surface. A good pair of work boots will protect your feet and provide support.
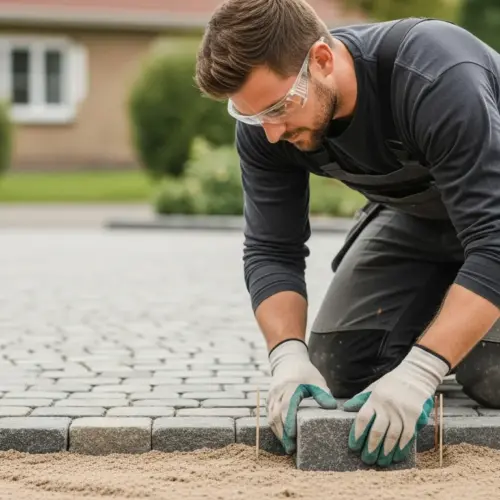
Preparing the Foundation
A solid foundation is crucial for the stability and longevity of your stone planter. Start by selecting a level area for your planter, or create one by leveling the ground with a shovel.
Remove any grass, weeds, or debris from the area. If the ground is soft or uneven, consider adding a layer of compacted gravel to provide a more stable base.
| Foundation Type | Description | Best Use |
|---|---|---|
| Gravel Base | A layer of compacted gravel provides drainage and stability. | Areas with poor drainage or soft soil |
| Concrete Slab | A poured concrete slab offers a solid, permanent foundation. | Large, heavy planters or uneven ground |
| Paver Base | A layer of pavers or flagstones creates a level surface. | Smaller planters or decorative bases |
| Compacted Soil | Well-compacted soil can be sufficient for small, lightweight planters. | Level ground with stable soil |
For larger planters, you might even consider pouring a concrete slab as a foundation. This will provide a solid, permanent base that will prevent the planter from shifting or settling over time.
If you choose a gravel base, make sure to compact it thoroughly using a tamper or plate compactor. This will ensure that the gravel is stable and will not settle over time.
For a concrete slab foundation, you’ll need to build a form using lumber and secure it with stakes. Make sure the form is level and square before pouring the concrete.
Allow the concrete to cure for at least 24 hours before building on top of it. This will ensure that the concrete is strong enough to support the weight of the planter.
Consider adding a layer of sand or crushed stone between the foundation and the first course of stones. This will help to level the stones and provide a cushion against movement.
Assembling the Stone Planter
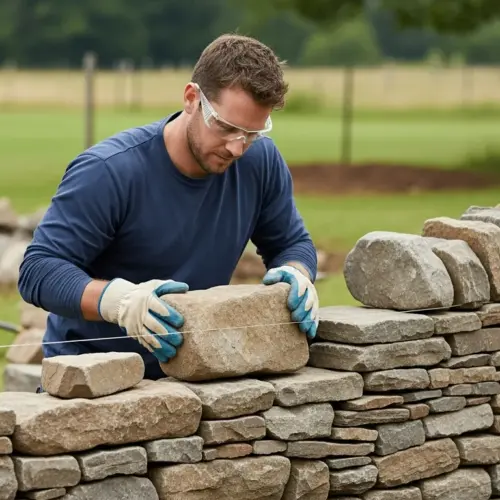
With the foundation prepared, you can begin assembling your stone planter. Start by laying the first course of stones, making sure they are level and evenly spaced.
If you’re using mortar or construction adhesive, apply it to the bottom of each stone before placing it on the foundation. Stagger the joints between the stones in each course to create a stronger, more stable structure.
- Dry-stacking for a natural look
- Mortar for added stability
- Construction adhesive for easy bonding
- Staggering joints for strength
- Using a level for even courses
As you build up the walls of the planter, check frequently with a level to ensure they are straight and plumb. Use a rubber mallet to gently tap the stones into place, adjusting them as needed to maintain a consistent appearance.
If you’re dry-stacking the stones, take extra care to choose stones that fit together snugly. You may need to experiment with different arrangements to find the best fit.
When using mortar, apply it in a consistent layer and smooth it out with a trowel. Wipe away any excess mortar with a damp sponge before it dries.
If you’re using construction adhesive, apply it sparingly to avoid creating a mess. Allow the adhesive to dry completely before adding the next course of stones.
Consider adding drainage holes to the bottom of the planter to prevent water from pooling. You can drill holes through the stones or leave small gaps between them.
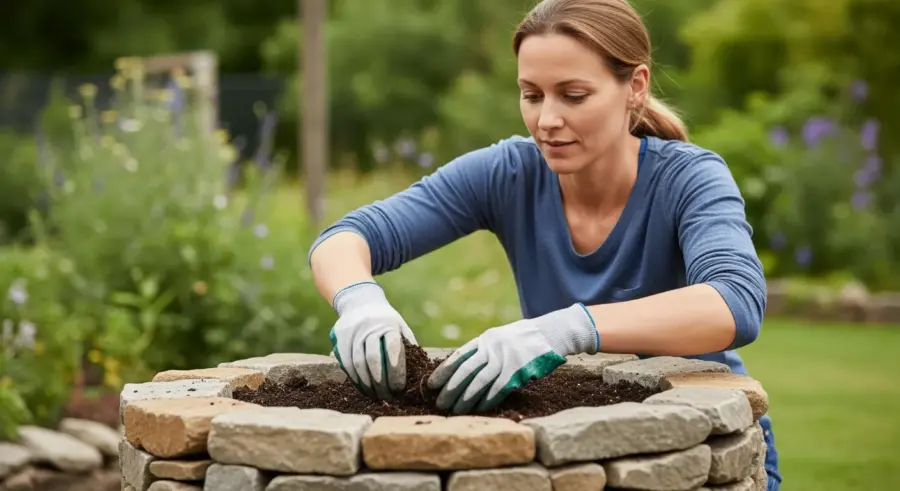
Adding Drainage and Soil
Proper drainage is essential for the health of your plants. Before adding soil, create a drainage layer at the bottom of the planter by adding a layer of gravel or crushed stone.
This will allow excess water to drain away from the roots, preventing them from becoming waterlogged. Cover the drainage layer with a sheet of landscape fabric to prevent soil from washing down and clogging the drainage.
Fill the planter with a high-quality potting mix that is appropriate for the types of plants you intend to grow. Avoid using garden soil, as it can be too heavy and may not drain well.
Leave a few inches of space between the top of the soil and the rim of the planter to prevent soil from spilling out when you water. Gently compact the soil to remove any air pockets, but avoid over-compacting it, as this can restrict root growth.
Consider adding a layer of mulch on top of the soil to help retain moisture and suppress weeds. Bark chips, shredded leaves, or straw are all good options.
If you’re planting acid-loving plants, such as azaleas or rhododendrons, amend the soil with peat moss or other acidic materials. This will help to create the ideal growing conditions for these plants.
For plants that prefer well-drained soil, add perlite or vermiculite to the potting mix. This will improve drainage and prevent the soil from becoming waterlogged.
Consider adding a slow-release fertilizer to the soil at planting time. This will provide your plants with a steady supply of nutrients throughout the growing season.
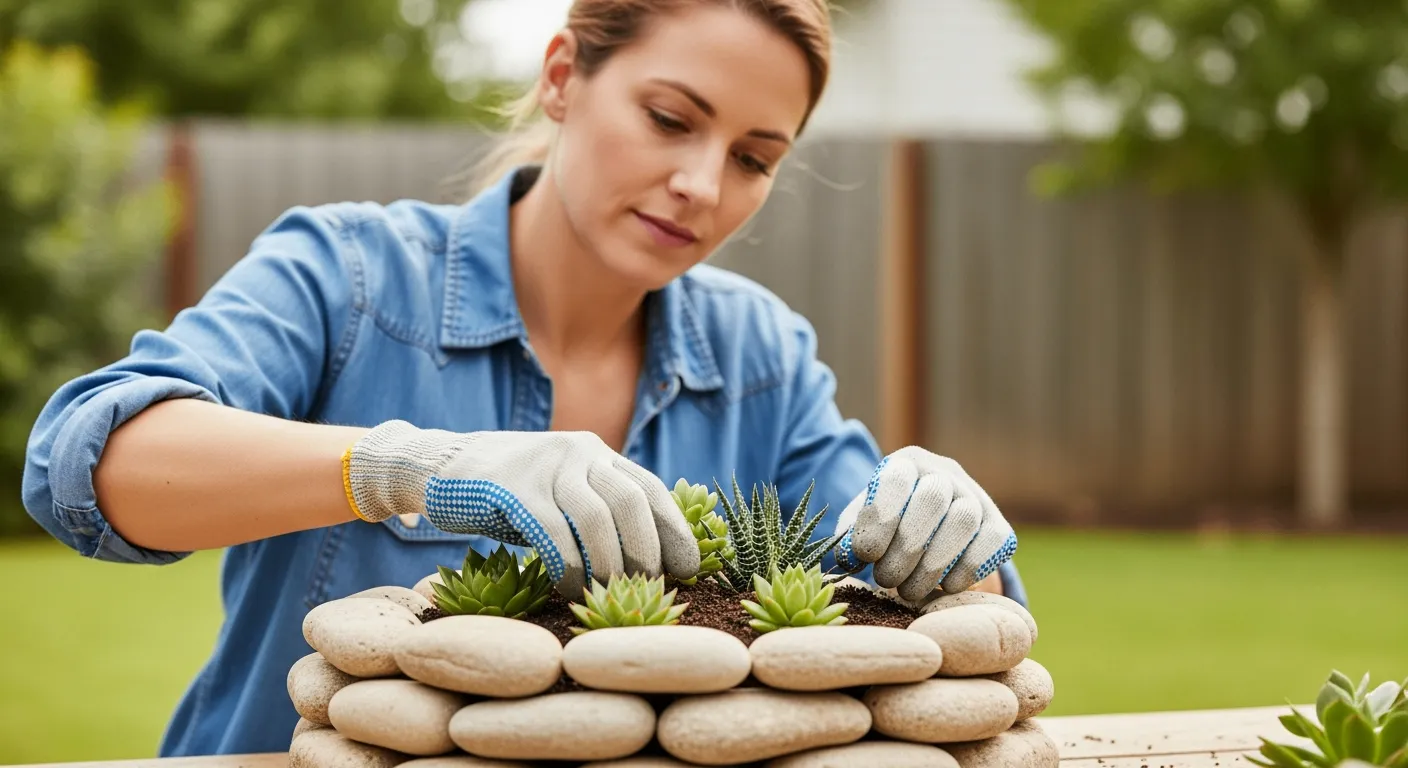
Planting Your Flowers or Herbs
Now comes the fun part: planting your flowers or herbs. Choose plants that are well-suited to the growing conditions in your area, taking into account factors such as sunlight, temperature, and rainfall.
Carefully remove the plants from their containers and gently loosen the roots. Dig a hole in the soil that is large enough to accommodate the root ball, and place the plant in the hole.
Backfill the hole with soil, gently firming it around the base of the plant. Water thoroughly after planting to help the roots settle in.
Consider companion planting, where you pair plants that benefit each other. For example, basil can help repel pests from tomatoes, while marigolds can deter nematodes from attacking root vegetables.
When planting flowers, choose a variety of colors and textures to create a visually appealing display. Consider the height and spread of the plants to ensure that they will not overcrowd each other.
If you’re planting herbs, choose varieties that you enjoy cooking with. Consider planting herbs that have different growth habits, such as upright basil and trailing thyme.
Water your plants regularly, especially during the first few weeks after planting. Fertilize your plants as needed to promote healthy growth and abundant blooms.
Deadhead spent flowers to encourage more blooms. Prune herbs regularly to keep them from becoming leggy and to promote new growth.
Maintaining Your Stone Planter
Once your stone planter is complete, it’s important to maintain it properly to ensure its longevity and the health of your plants. Water your plants regularly, especially during dry spells, and fertilize them as needed to promote healthy growth.
Remove any dead or diseased foliage to prevent the spread of problems. Check the planter regularly for signs of damage, such as cracks or loose stones, and repair them promptly.
If you live in an area with harsh winters, consider protecting your stone planter from frost damage by covering it with a tarp or moving it to a sheltered location. This will help prevent the stones from cracking or crumbling due to freezing and thawing.
Clean the stones periodically with a stiff brush and water to remove any dirt, moss, or algae. This will help keep your planter looking its best and prevent the growth of unwanted vegetation.
Monitor your plants for pests and diseases, and take appropriate action if necessary. Use organic pest control methods whenever possible to protect the environment.
Replenish the mulch layer as needed to help retain moisture and suppress weeds. Add compost to the soil each year to improve its fertility and structure.
Prune your plants regularly to maintain their shape and size. Remove any dead or damaged branches to promote healthy growth.
Consider rotating your plants each year to prevent soil depletion. This will help to keep your plants healthy and productive.
Creative Ideas for Stone Planters
There are countless ways to get creative with your stone planter construction. Consider building a tiered planter for a dramatic display of cascading flowers or herbs.
Incorporate decorative elements such as pebbles, shells, or pieces of driftwood to add visual interest. Build a stone planter around an existing tree or shrub to create a focal point in your garden.
Use different types of stone to create patterns or textures in the walls of the planter. Add a small water feature, such as a fountain or birdbath, to create a tranquil oasis.
Paint or stain the stones to match your home’s exterior or to create a bold, colorful statement. With a little imagination, you can transform a simple stone planter into a unique work of art.
Create a miniature rock garden within your stone planter. Use small stones, gravel, and drought-tolerant plants to create a unique and low-maintenance display.
Build a stone planter with a built-in bench. This will provide a comfortable place to sit and enjoy your garden.
Incorporate lighting into your stone planter design. Use solar-powered lights to illuminate your plants at night.
Build a stone planter with a hidden compartment. This can be used to store gardening tools or other supplies.
Conclusion
Building a stone planter is a fulfilling project that brings natural beauty to your outdoor space. By following these stone planter construction steps, you can create a durable and attractive home for your plants that will last for years to come.
With a little planning, effort, and creativity, your stone planter diy will be a stunning addition to your garden or patio. Enjoy the process and the beautiful results of your labor.
Remember to choose the right stones, prepare a solid foundation, and provide proper drainage for your plants. With these key elements in place, your stone planter will thrive for many years.
So, gather your tools and materials, unleash your creativity, and start building your own stone planter today. You’ll be amazed at the beauty and satisfaction it brings to your outdoor space.