Stone retaining walls are more than just functional structures; they are also an attractive addition to any property. A well-constructed wall can prevent soil erosion, manage water runoff, and create usable outdoor spaces.
However, the success of your wall depends on careful planning, proper construction techniques, and a solid understanding of the materials involved. This guide provides a comprehensive overview of stone retaining wall building, covering everything from initial design to long-term maintenance.
Whether you are a seasoned contractor or a DIY enthusiast, this information will equip you with the knowledge to build a durable and aesthetically pleasing stone retaining wall. Let’s get started on the stone retaining wall building process.
Planning and Designing Your Retaining Wall
Before you start moving stones, it is important to have a clear plan for your retaining wall. This involves assessing the site, determining the wall’s purpose, and creating a detailed design.
Consider the height of the wall, the type of soil it will retain, and any potential obstacles, such as buried utilities or tree roots. A well-thought-out wall design is the first step to a successful project.
First, evaluate the slope and soil conditions of your yard. Determine the height of the wall needed to effectively retain the soil and prevent erosion.
Also, consider the aesthetic you want to achieve. There are many different types of stone to choose from, each offering a unique look and feel.
The planning phase should also include considerations for accessibility. Think about how you will transport the stones to the construction site.
Consider the long-term impact of the wall on the surrounding landscape. Will it affect drainage patterns or the growth of nearby plants?
Sketch out a detailed plan of your wall, including dimensions, materials, and drainage details. This plan will serve as a roadmap throughout the construction process.
It’s also wise to consider the angle of repose for the soil you’re retaining. This angle will influence the necessary thickness and batter of your wall.
Think about the overall style and how it complements your home and landscaping. Do you prefer a rustic, natural look, or a more formal, structured appearance?
Proper planning prevents poor performance, so invest time in this crucial initial phase. A well-designed wall will not only look great but also function effectively for years to come.
Understanding Local Regulations and Permits
Before commencing any construction, it is essential to check local building codes and regulations. Many municipalities require permits for retaining walls exceeding a certain height, often 3 or 4 feet.
Failing to obtain the necessary permits can result in fines, delays, or even the need to dismantle the wall. Researching and complying with local regulations ensures your project proceeds smoothly and legally.
Start by contacting your local building department or planning office. They can provide information on height restrictions, setback requirements, and any other specific regulations that apply to retaining walls in your area.
Be prepared to submit a detailed plan of your wall design, including dimensions, materials, and drainage details. The permitting process may take several weeks, so factor this into your project timeline.
Inquire about any required inspections during the construction process. Some municipalities require inspections at various stages, such as after the foundation is prepared or after the wall is partially built.
Don’t rely on assumptions or hearsay when it comes to regulations. Always verify the requirements with the local authorities to avoid potential problems.
Keep copies of all permits and approved plans on-site during construction. This will help you answer any questions that may arise from inspectors or neighbors.
Consider hiring a professional engineer or architect to assist with the design and permitting process, especially for larger or more complex retaining walls. Their expertise can ensure that your wall meets all applicable codes and regulations.
Remember that regulations can vary significantly between jurisdictions. What is allowed in one city or county may not be permitted in another.
Ignoring local regulations can lead to costly and time-consuming setbacks. Investing the time to understand and comply with the rules is a worthwhile investment in the success of your project.
Preparing the Foundation and Drainage System
A solid foundation is the backbone of any retaining wall. Without it, the wall is likely to shift, crack, or even collapse over time.
Equally important is an effective drainage system to prevent water buildup behind the wall, which can exert immense pressure. Proper foundation and drainage are critical for the longevity of your stone retaining wall building project.
Begin by excavating a trench along the planned wall alignment. The trench should be deep enough to accommodate a layer of compacted gravel, typically 6 to 12 inches.
Compact the gravel base using a plate compactor to create a stable foundation. Install a perforated drain pipe at the base of the trench, sloped slightly to allow water to flow away from the wall.
The depth of the foundation should also consider the frost line in your area. In colder climates, the foundation must extend below the frost line to prevent heaving due to freezing and thawing.
Wrap the drain pipe with filter fabric to prevent soil particles from clogging the pipe. This will ensure that the drainage system remains effective over time.
Backfill behind the wall with gravel or crushed stone to further enhance drainage. This creates a permeable zone that allows water to flow freely to the drain pipe.
Consider installing weep holes in the wall to allow any water that does accumulate behind the wall to escape. Weep holes should be spaced regularly along the wall’s length.
The slope of the drain pipe is crucial for proper drainage. A slight slope of at least 1/8 inch per foot is recommended.
A well-designed and properly installed foundation and drainage system will significantly extend the life of your retaining wall. Don’t skimp on these critical elements.
Choosing the Right Type of Stone
Selecting the appropriate stone is a critical decision that impacts both the structural integrity and aesthetic appeal of your wall. Different types of stone offer varying levels of durability, workability, and visual character.
Consider factors such as the local climate, the style of your home, and your personal preferences when making your selection. The right stone can make all the difference in the success of your stone retaining wall building project.
| Stone Type | Durability | Workability | Aesthetic |
|---|---|---|---|
| Granite | Excellent | Difficult | Classic, Formal |
| Limestone | Good | Moderate | Natural, Rustic |
| Sandstone | Moderate | Easy | Warm, Earthy |
| Fieldstone | Variable | Variable | Unique, Random |
| Slate | Good | Moderate | Modern, Sleek |
Consider the size and shape of the stones. Larger stones are generally easier to work with and provide greater stability, but they can also be more difficult to handle.
Think about the color and texture of the stone. Do you want a uniform look, or do you prefer a more varied and natural appearance?
Local availability can also be a factor. Using locally sourced stone can often be more cost-effective and environmentally friendly.
Consider the weight of the stone. Some types of stone are significantly heavier than others, which can impact the ease of installation and the structural requirements of the wall.
Research the long-term weathering characteristics of different types of stone. Some stones are more resistant to weathering and erosion than others.
Talk to local stone suppliers and contractors to get their recommendations. They can provide valuable insights based on their experience with different types of stone.
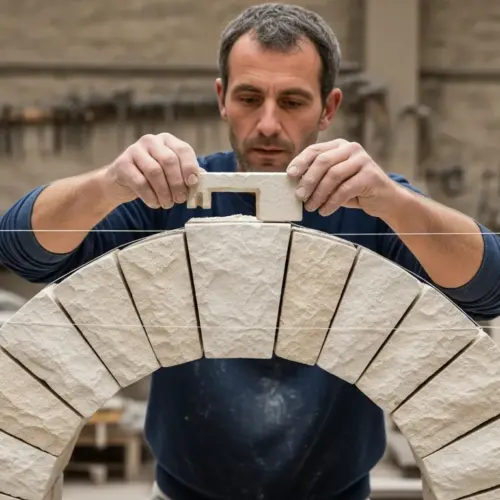
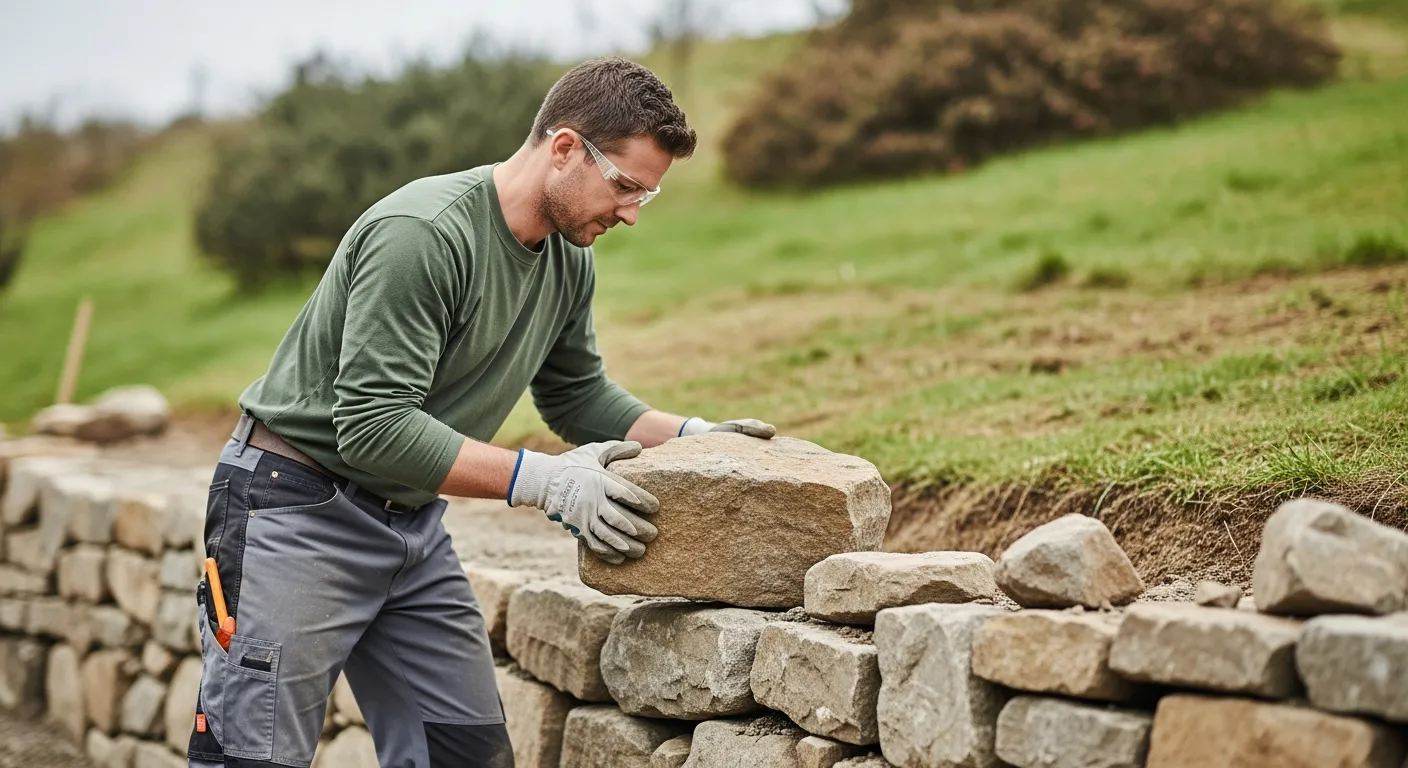
Laying the Stones and Ensuring Stability
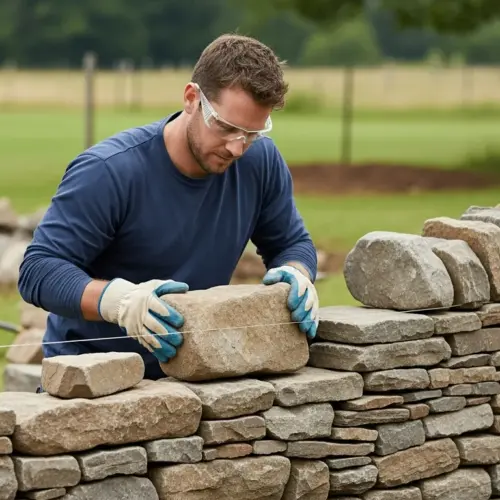
Laying the stones is where your wall begins to take shape. Proper technique is essential to ensure the wall is not only visually appealing but also structurally sound.
Focus on creating a stable interlock between the stones and maintaining a slight batter (inward slope) for added stability. Careful stone placement is key to a long-lasting stone retaining wall.
Start by placing the largest, most stable stones on the bottom course. This provides a solid base for the rest of the wall.
As you lay each stone, use a level to ensure it is properly aligned. Fill any gaps between the stones with smaller stones or gravel to create a tight interlock.
Use a rubber mallet to gently tap the stones into place. This will help to ensure a tight fit and prevent movement.
Stagger the joints between the stones in each course. This will help to distribute the load and prevent cracking.
Maintain a consistent batter (inward slope) throughout the wall. A batter of 1 inch per foot of height is generally recommended.
Use shims or small stones to level the stones and create a uniform appearance. Avoid using excessive amounts of shims, as this can weaken the wall.
Periodically check the wall for plumb and level. Make adjustments as needed to ensure that the wall is straight and stable.
Consider using a mortar mix for added stability, especially for taller walls or walls in areas with unstable soil. However, dry-stacking (without mortar) can also be effective if done properly.
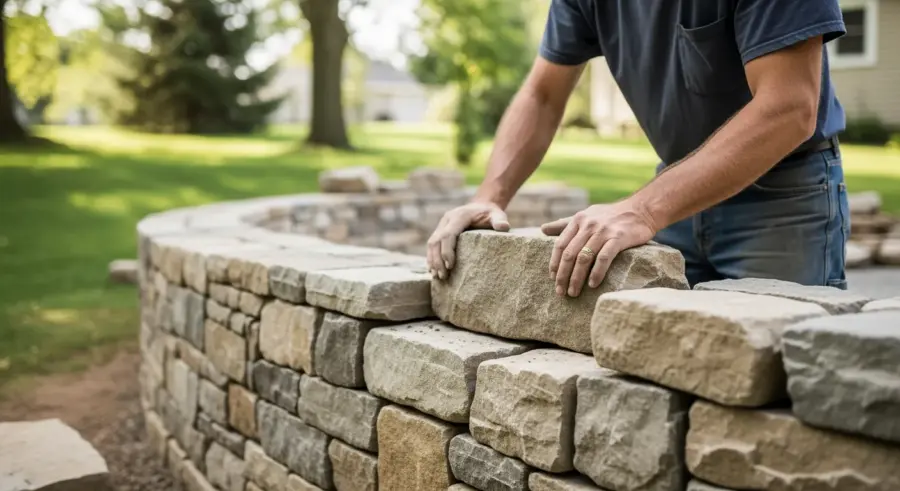
Tips for Achieving a Natural Look
Many homeowners desire a retaining wall that blends seamlessly with the natural surroundings. Achieving this requires careful attention to stone selection and placement.
Embrace the natural variations in stone size, shape, and color to create a more organic and less uniform appearance. A natural-looking wall enhances the beauty of your property.
Mix different sizes and shapes of stones within each course. Avoid creating straight, uniform lines that can make the wall look artificial.
Incorporate plants into the wall design. Planting creeping vines or small shrubs between the stones can soften the wall’s appearance and help it blend into the environment.
Choose stones with a variety of textures and colors. This will add visual interest and create a more natural look.
Arrange the stones in a random pattern. Avoid creating symmetrical or repetitive patterns.
Use stones with moss or lichen growth. This will give the wall a more aged and weathered appearance.
Consider using native plants that are adapted to the local climate. This will help the wall blend in with the surrounding landscape.
Allow some of the stones to protrude slightly from the wall face. This will create a more irregular and natural look.
Avoid using perfectly cut or manufactured stones. Natural stones will always look more organic and authentic.
Backfilling and Compacting the Soil
Backfilling is the process of filling the space behind the wall with soil. Proper backfilling is crucial to prevent excessive pressure on the wall and ensure its stability.
Compacting the soil in layers as you backfill helps to minimize settling and maintain the wall’s structural integrity. Careful backfilling protects the longevity of your stone retaining wall.
- Use well-draining soil for backfilling
- Backfill in layers, compacting each layer
- Install filter fabric behind the wall
- Avoid over-compaction near the wall
- Ensure proper drainage behind the wall
Backfill in lifts of no more than 6 to 8 inches at a time. This will allow you to properly compact each layer.
Use a plate compactor or hand tamper to compact the soil. Ensure that the soil is evenly compacted throughout each layer.
Avoid using heavy machinery near the wall. This can damage the wall or cause it to shift.
Install a layer of gravel or crushed stone directly behind the wall to improve drainage. This will help to prevent water buildup behind the wall.
Slope the backfill away from the wall. This will help to divert water away from the wall and prevent erosion.
Consider using geogrid reinforcement for taller walls or walls in areas with unstable soil. Geogrid is a synthetic mesh that is embedded in the backfill to provide additional stability.
Monitor the backfill for settling. If settling occurs, add more soil and compact it thoroughly.
Maintaining Your Stone Retaining Wall
A stone retaining wall, like any structure, requires regular maintenance to ensure its longevity and stability. Inspecting the wall periodically and addressing any issues promptly can prevent costly repairs down the road.
Simple maintenance practices can keep your wall looking its best and functioning properly for many years. Consistent upkeep is key to the long-term health of your stone retaining wall.
Inspect the wall regularly for any signs of shifting, cracking, or bulging. Pay particular attention to areas where water may be accumulating.
Remove any debris, such as leaves or soil, that may be blocking the drainage system. Trim back any vegetation that is growing too close to the wall.
Clean the wall periodically with a brush and water to remove any dirt or stains. Avoid using harsh chemicals or abrasive cleaners.
Repair any cracks or gaps in the wall. Use mortar or small stones to fill the cracks and prevent further damage.
Check the drainage system regularly to ensure that it is functioning properly. Clear any clogs or obstructions in the drain pipe or weep holes.
Monitor the backfill for settling. If settling occurs, add more soil and compact it thoroughly.
Protect the wall from erosion. Install erosion control measures, such as mulch or ground cover, to prevent soil from washing away from the base of the wall.
Consider applying a sealant to the wall to protect it from weathering and staining. Choose a sealant that is specifically designed for use on stone.
Addressing Common Problems
Even with careful planning and construction, retaining walls can sometimes develop problems over time. Recognizing and addressing these issues early can prevent them from escalating into major repairs.
Common problems include bulging, cracking, and drainage issues. Knowing how to troubleshoot these problems will help you maintain the integrity of your stone retaining wall.
Bulging often indicates excessive pressure behind the wall. This can be caused by poor drainage or soil settling.
Cracks can result from ground movement, freeze-thaw cycles, or improper construction. Drainage issues can lead to water buildup, which can weaken the wall’s foundation.
For bulging, improve drainage by adding more gravel or crushed stone behind the wall. You may also need to install additional weep holes.
For cracks, repair them with mortar or epoxy. If the cracks are large or numerous, you may need to rebuild the affected section of the wall.
For drainage issues, clear any clogs or obstructions in the drain pipe or weep holes. You may also need to regrade the backfill to improve drainage.
If the wall is leaning, it may be necessary to rebuild it. This is a sign that the foundation is unstable or that the wall was not properly constructed.
If you are unsure how to address a particular problem, consult with a professional contractor or engineer. They can assess the situation and recommend the best course of action.
Regular maintenance and prompt repairs can help to prevent minor problems from escalating into major issues. This will save you time and money in the long run.
Conclusion
Building a stone retaining wall is a rewarding project that can enhance both the functionality and beauty of your property. By following the guidelines outlined in this article, you can create a durable and aesthetically pleasing structure that will stand the test of time.
Remember to plan carefully, use quality materials, and pay attention to detail throughout the construction process. With the right approach, your stone retaining wall building project will be a resounding success.