Stone patching is an essential skill for anyone involved in lithic conservation or stone masonry. It’s a method used to repair damaged areas of stone, restoring its structural integrity and aesthetic appeal. This article will cover best practices for stone patching, ensuring durable and visually seamless repairs.
We’ll discuss everything from assessing the damage to color matching and finishing techniques. Whether you’re working on a historic building or a modern stone facade, understanding these techniques is crucial for successful stone restoration.
Mastering stone patching not only extends the life of the stone but also preserves its original character. Let’s explore the best practices for stone patching, including epoxy and mortar patching.
Assessing Stone Damage for Patching
Before beginning any stone patching project, a thorough assessment of the damage is necessary. This evaluation will determine the appropriate patching method and materials needed for a long-lasting repair.
Start by identifying the type of stone and the extent of the damage. Look for cracks, chips, spalls, and any signs of deterioration, like surface erosion or biological growth.
Determine the cause of the damage, which could be anything from weathering to physical impact or chemical exposure. Addressing the cause is essential to prevent future damage to the patched area and surrounding stone.
Consider the structural implications of the damage; is it purely cosmetic, or does it compromise the stone’s stability? This assessment will guide your choice of patching material and technique, as structural repairs require more robust solutions than surface-level fixes.
A detailed inspection can also reveal hidden issues, such as internal cracking or water infiltration. These underlying problems must be addressed before patching to prevent the repair from failing prematurely.
Document the damage with photographs and detailed notes, including measurements and locations. This documentation will serve as a reference throughout the patching process and can be useful for future maintenance.
Evaluate the surrounding stone for any signs of weakness or instability. Addressing these issues concurrently with the patching will ensure a more comprehensive and durable repair.
Consider the historical significance of the stone structure when assessing the damage. Preservation ethics may dictate the use of specific materials or techniques to maintain the building’s original character.
Preparing the Stone Surface
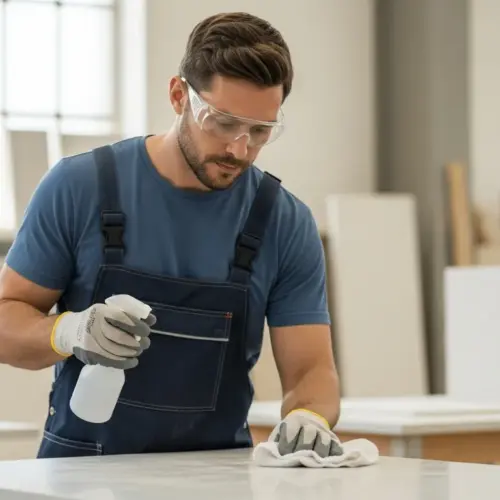
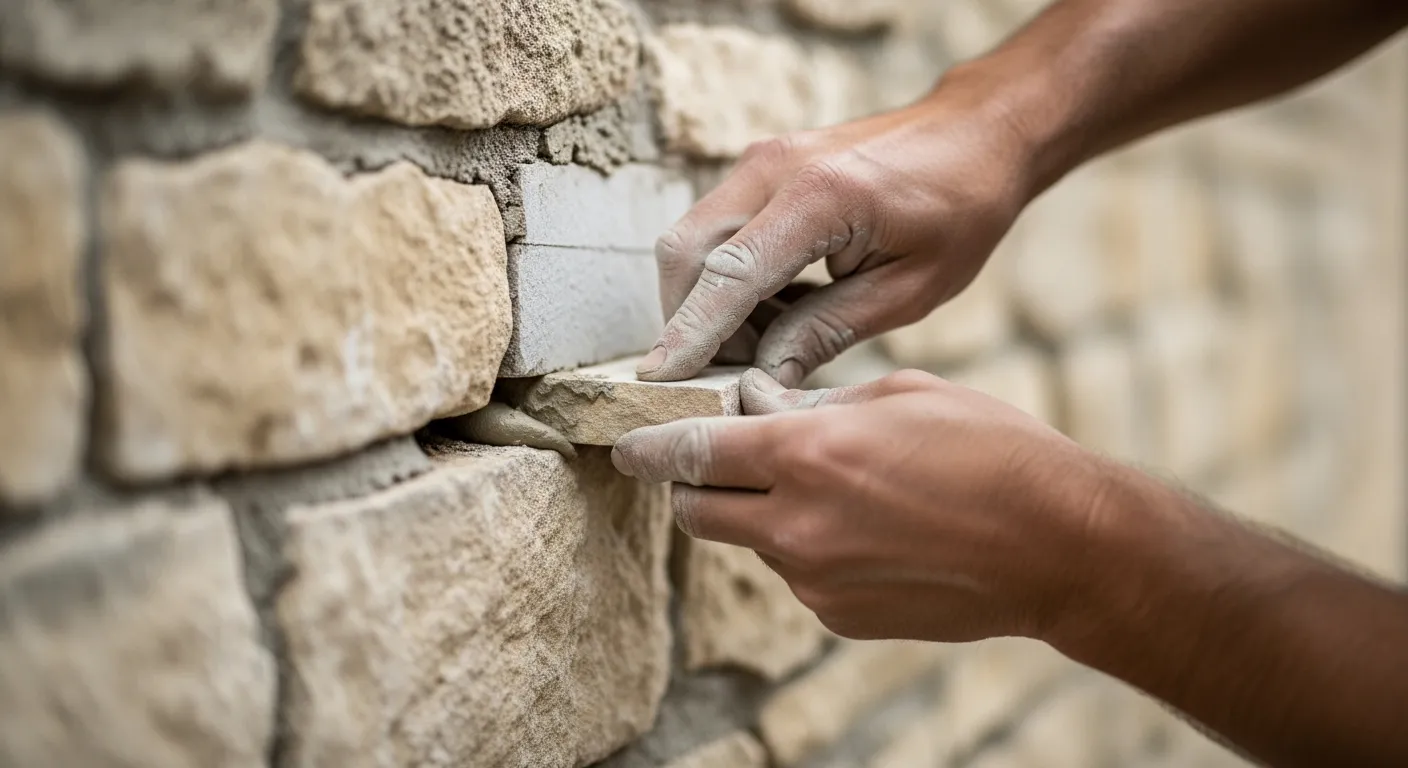
Proper preparation of the stone surface is paramount for ensuring a strong bond between the patch and the original stone. This step involves cleaning, removing loose material, and creating a slightly rough surface to enhance adhesion.
Begin by cleaning the damaged area with a soft brush and a mild detergent solution to remove any dirt, dust, or biological growth. Rinse thoroughly with clean water and allow the stone to dry completely before proceeding.
Remove any loose or deteriorated material from the damaged area using hand tools like chisels, picks, or wire brushes. Be careful not to damage the surrounding stone while removing the loose material.
Create a slightly rough surface on the inside of the repair area to provide a better key for the patching material. This can be achieved by carefully scoring the surface with a sharp tool or using a specialized stone preparation compound.
For deeper cavities, consider creating a “dovetail” shape to mechanically lock the patching material in place. This involves undercutting the edges of the repair area to provide a more secure anchor for the patch.
If the stone is particularly porous, apply a consolidant to strengthen the surrounding area before patching. This will help prevent the patch from pulling away from the stone over time.
Protect the surrounding stone from accidental damage during the preparation process by using masking tape or protective sheeting. This will help maintain the integrity of the adjacent surfaces.
Always wear appropriate personal protective equipment (PPE), such as gloves, eye protection, and a dust mask, during surface preparation. This will protect you from dust, debris, and potential chemical exposure.
Epoxy Patching Techniques
Epoxy patching is an excellent choice for repairing stone when high strength and water resistance are required. Epoxy resins offer superior adhesion and can be color-matched to blend seamlessly with the existing stone.
Epoxy patching is often preferred for smaller repairs, such as chips, cracks, or spalls, where a strong, durable bond is essential. However, it’s not always the best choice for larger repairs where breathability is a concern.
| Epoxy Type | Advantages | Disadvantages |
|---|---|---|
| Two-Part Epoxy | High strength, excellent adhesion, water-resistant | Can be less breathable, may yellow over time |
| Pre-Tinted Epoxy | Convenient color matching, easy to use | Limited color options, may not match perfectly |
| Epoxy Mortar | Suitable for larger repairs, contains aggregate for added strength | Requires careful mixing, can be more difficult to apply |
| Flexible Epoxy | Accommodates movement, reduces cracking | Lower strength than rigid epoxies, may not be suitable for all repairs |
Before applying epoxy, ensure the stone surface is completely dry and free of any contaminants. Mix the epoxy components according to the manufacturer’s instructions, and consider adding pigments to achieve the desired color match.
Apply the epoxy to the prepared area, pressing it firmly into any voids or cracks. Use a trowel or putty knife to smooth the surface and remove any excess epoxy before it cures.
When working with epoxy, it’s crucial to use the correct mixing ratio of resin and hardener. Incorrect ratios can result in a weak or improperly cured patch.
Consider using a vacuum chamber to remove air bubbles from the mixed epoxy before application. This will result in a stronger and more visually appealing patch.
For deeper repairs, apply the epoxy in layers, allowing each layer to partially cure before applying the next. This will prevent shrinkage and cracking.
Use appropriate release agents or masking techniques to prevent the epoxy from sticking to surrounding surfaces. This will simplify cleanup and ensure a clean, professional finish.
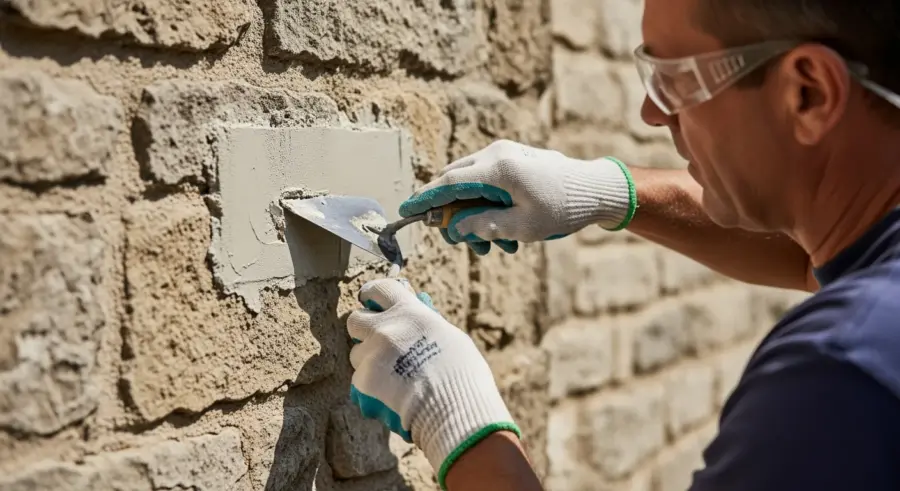
Mortar Patching Techniques
Mortar patching is a traditional method used for repairing larger areas of damaged stone, especially in historic structures. This technique involves using a mortar mix that closely matches the original in terms of composition, color, and texture.
A key advantage of mortar patching is its breathability, which allows moisture to escape from the stone, preventing further deterioration. However, mortar patches may not be as strong or water-resistant as epoxy repairs.
When selecting a mortar mix, consider factors such as the type of stone, the local climate, and the desired appearance. A custom mortar mix may be necessary to achieve the best match and performance.
Before applying the mortar, dampen the stone surface to improve adhesion and prevent the mortar from drying out too quickly. Apply the mortar in layers, pressing it firmly into the damaged area and allowing each layer to partially set before applying the next.
Lime-based mortars are often preferred for historic stone structures due to their breathability and compatibility with older materials. These mortars are more flexible than cement-based mortars and can accommodate movement without cracking.
When mixing mortar, use clean, potable water and follow the manufacturer’s instructions carefully. Over-watering can weaken the mortar and make it more susceptible to cracking.
Compact the mortar thoroughly as you apply it to eliminate air pockets and ensure a strong bond with the stone. Use a pointing trowel or other specialized tools to achieve a smooth, even surface.
Protect the mortar patch from rapid drying by covering it with damp burlap or plastic sheeting. This will help prevent cracking and ensure proper hydration of the cement.
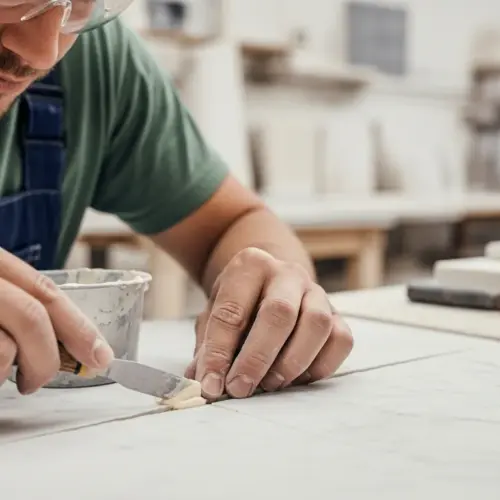
Color Matching Patching Materials
Achieving a seamless repair requires careful color matching of the patching material to the original stone. This is crucial for maintaining the aesthetic integrity of the stone structure.
Start by obtaining samples of the original stone to use as a reference for color matching. If the original stone is not available, take samples from an inconspicuous area of the structure.
- Use mineral pigments for mortar
- Use tinting agents for epoxy
- Mix small batches and test
- Apply to a test area and let dry
- Adjust color as needed for a perfect match
Consider factors such as the stone’s color variations, texture, and surface finish when selecting and mixing your patching materials. Natural stone often exhibits subtle variations in color, so it’s important to capture this in your patch.
Always test the color match in a small, inconspicuous area before applying the patch to the entire damaged area. This will allow you to make any necessary adjustments to the color mix before committing to the final repair.
Take into account the effects of weathering and aging on the original stone’s color. The patched area may initially appear slightly different but will gradually blend in over time.
Use natural pigments or dyes to color the patching material, as these are more likely to be colorfast and resistant to fading. Avoid using synthetic pigments, which can fade or change color over time.
Consider the lighting conditions under which the patched area will be viewed. The color match may appear different under natural light versus artificial light.
Document the color matching process, including the pigments or dyes used and the proportions in which they were mixed. This will allow you to replicate the color match in the future if necessary.
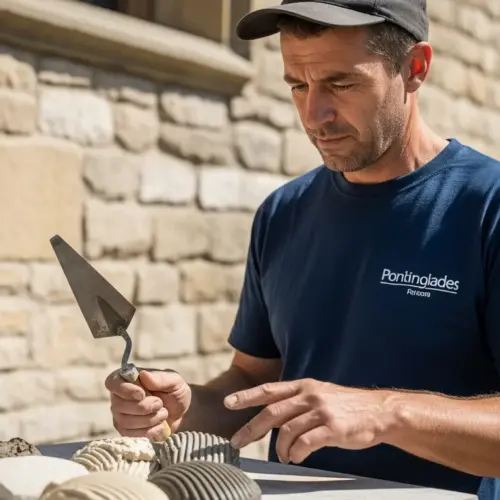
Finishing and Curing Patches
Once the patching material has been applied, proper finishing and curing are essential for ensuring a durable and visually appealing repair. These steps involve shaping the patch to match the surrounding stone and allowing it to cure properly.
Shape the patch to match the contours of the surrounding stone using hand tools such as chisels, rasps, or sandpaper. Pay attention to details such as edges, corners, and surface texture to create a seamless transition between the patch and the original stone.
Protect the patched area from direct sunlight, rain, and extreme temperatures during the curing process. This will help prevent cracking, discoloration, or other problems that can compromise the integrity of the repair.
Follow the manufacturer’s instructions for curing times, as different patching materials may require different curing periods. Proper curing ensures that the patch reaches its full strength and durability.
Consider using a curing compound to help retain moisture in the patch during the curing process. This is especially important in hot or dry climates.
Avoid applying any sealants or coatings to the patched area until it has fully cured. This can interfere with the curing process and compromise the durability of the repair.
Inspect the patched area regularly during the curing process for any signs of cracking, shrinkage, or discoloration. Address these issues promptly to prevent further damage.
Use appropriate finishing techniques to match the surface texture of the surrounding stone. This may involve stippling, brushing, or sanding the patch to create a seamless blend.
Best Practices for Stone Patching Durability
To ensure the longevity of your stone patching work, it’s essential to follow certain best practices. These include using appropriate materials, proper surface preparation, and careful application techniques.
Regularly inspect patched areas for any signs of deterioration, such as cracking, spalling, or discoloration. Addressing these issues early can prevent more extensive damage and costly repairs in the future.
Consider applying a protective coating to the patched area to shield it from weathering, chemical exposure, and other environmental factors. This can extend the life of the patch and help maintain its appearance.
Document all stone patching work, including the materials used, the techniques employed, and any observations made during the process. This information can be valuable for future maintenance and repair efforts.
Choose patching materials that are compatible with the original stone and the surrounding environment. Incompatible materials can lead to premature failure of the patch.
Address the underlying causes of stone damage to prevent future problems. This may involve improving drainage, reducing exposure to chemicals, or stabilizing the surrounding structure.
Consider the long-term maintenance requirements of the patched area. Select materials and techniques that are easy to repair and maintain in the future.
Consult with experienced stone conservators or masons for advice on complex or challenging patching projects. Their expertise can help ensure a successful and durable repair.
Conclusion
Stone patching is a valuable skill for preserving and restoring stone structures. By following these best practices for stone patching, you can ensure durable, visually appealing repairs that stand the test of time.
Remember to assess damage carefully, prepare the surface thoroughly, and choose the right materials for each specific repair. With attention to detail and proper technique, you can master the art of stone patching and contribute to the preservation of our built heritage.
Stone patching, when done correctly, is an investment in the longevity and beauty of our stone structures. It requires patience, skill, and a commitment to preserving the past for future generations.
By continually learning and refining your stone patching techniques, you can become a valuable asset in the field of lithic conservation and contribute to the preservation of our cultural heritage.