Conclusion
Gentle stone cleaning is crucial for preserving historic surfaces. By understanding the different methods available and the specific needs of the stone, you can ensure its longevity and beauty. Always prioritize the least aggressive approach and seek professional advice when needed.
Remember, preservation is always better than restoration. With careful planning and execution, you can protect these invaluable pieces of our heritage for generations to come. The best stone cleaning methods require patience and care.
Maintaining the integrity of historic stone structures requires a delicate balance of science and art. Understanding the nuances of stone cleaning is paramount to preserving these invaluable pieces of our past. This article will equip you with the knowledge to approach stone cleaning with the care and precision it demands.
We’ll explore the best stone cleaning methods, focusing on techniques that minimize damage and maximize preservation. From the gentlest water cleaning to the strategic use of poultices and steam, we’ll cover a range of approaches suitable for various types of soiling and stone.
Chemical cleaning will also be addressed, with a strong emphasis on when it’s necessary and how to execute it safely. By understanding these techniques, you can ensure the longevity and beauty of historic stone surfaces for generations to come. Effective stone cleaning is both a science and an art.
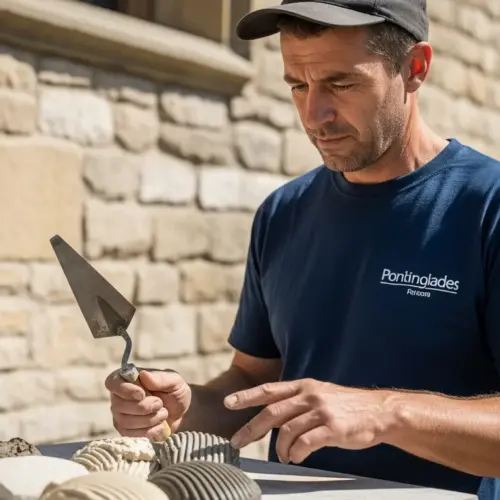
Assessing the Stone Surface Before Cleaning
Before any cleaning begins, a thorough assessment of the stone surface is essential. This involves identifying the type of stone, its condition, and the nature of the soiling. Rushing into cleaning without this knowledge can cause irreversible damage.
Different types of stone, such as limestone, sandstone, and granite, react differently to cleaning agents. Limestone, for example, is particularly susceptible to acid damage, while granite is more resistant. Always identify the stone before proceeding.
Examine the stone for cracks, fissures, and previous repairs. These areas are often more vulnerable to water penetration and chemical attack, so they require extra caution. Documenting these conditions with photographs is always a good idea.
Determine the type of soiling present, whether it’s atmospheric pollution, biological growth, or staining from previous treatments. This will dictate the most appropriate cleaning method. Always start with the least aggressive approach.
The initial assessment should also involve noting the stone’s texture and porosity. Is it a smooth, polished surface or a rough, porous one? Porous stones will absorb cleaning agents more readily, potentially leading to deeper staining or damage if not handled carefully.
Consider the surrounding environment as well. Is the stone sheltered or exposed to the elements? Is it located in an urban or rural area? These factors can influence the type and severity of soiling, as well as the potential for future staining.
Pay close attention to any signs of deterioration, such as crumbling, spalling, or discoloration. These may indicate underlying problems that need to be addressed before cleaning. Cleaning a structurally unsound stone can exacerbate existing damage.
Finally, remember to document your assessment thoroughly. Take photographs of the stone from different angles and distances. Note any specific areas of concern. This documentation will serve as a baseline for evaluating the effectiveness of the cleaning process and identifying any potential problems that may arise later.
Water Cleaning: The First Step
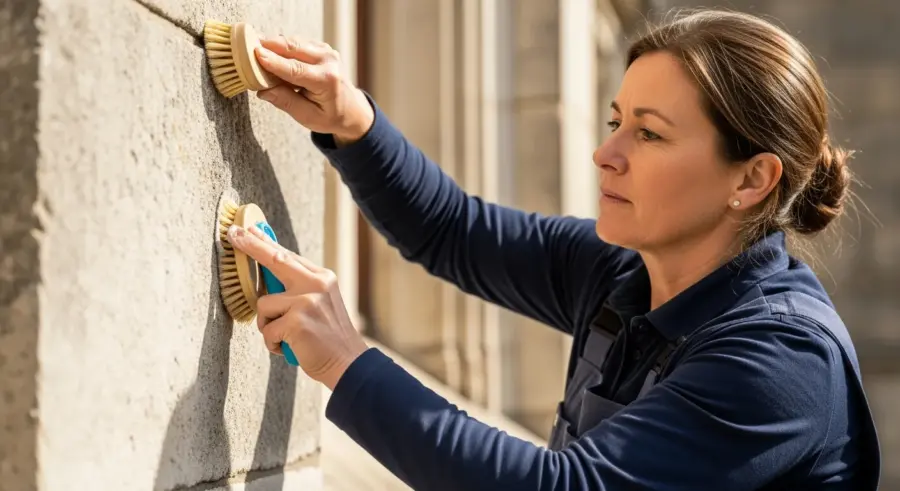
Water cleaning is often the first and gentlest approach to cleaning stone. It’s effective for removing loose dirt, dust, and some types of surface staining. The key is to use the right amount of water and the correct application technique.
Low-pressure washing is generally preferred to avoid saturating the stone or forcing water into cracks. A gentle spray from a hose or a soft brush with water can be surprisingly effective. Avoid high-pressure washers, as they can erode the stone surface.
For more stubborn dirt, consider using deionized or distilled water. Tap water can contain minerals that can leave deposits on the stone surface. Always test a small, inconspicuous area first to ensure no adverse reactions.
After water cleaning, allow the stone to dry completely before proceeding with any other treatments. This can take several days, depending on the stone’s porosity and the weather conditions. Patience is key here.
When using water cleaning, consider the angle of the water spray. Directing the water downwards can help to prevent water from seeping into horizontal cracks or joints. This is especially important in areas prone to freezing and thawing.
The temperature of the water can also play a role. Warm water can be more effective at dissolving some types of dirt and grime. However, avoid using excessively hot water, as it can damage certain types of stone or cause thermal shock.
For large areas, consider using a multiple-step water cleaning process. Start with a gentle pre-wetting to loosen dirt and debris. Follow this with a more thorough washing using a soft brush or sponge. Finally, rinse the surface thoroughly to remove any remaining residue.
Always observe the stone closely during the water cleaning process. Look for any signs of damage or discoloration. If you notice anything unusual, stop immediately and reassess your approach. It’s better to err on the side of caution when cleaning historic stone.
Poulticing: Drawing Out Stains
Poulticing is a method of drawing out stains from porous materials like stone. It involves applying a paste-like material to the stained area, allowing it to absorb the stain, and then removing the dried paste. This method is particularly effective for oil-based stains and rust.
The poultice material is typically a mixture of an absorbent powder, such as diatomaceous earth or bentonite clay, and a solvent or cleaning agent. The choice of solvent depends on the type of stain. Always test the poultice in an inconspicuous area first.
| Stain Type | Absorbent Powder | Solvent/Cleaning Agent | Application Notes |
|---|---|---|---|
| Oil-Based Stains | Diatomaceous Earth | Acetone or Mineral Spirits | Apply a thick layer and cover with plastic wrap to slow evaporation. |
| Rust Stains | Bentonite Clay | Citric Acid Solution | Monitor closely to avoid etching the stone. |
| Organic Stains (e.g., Coffee, Tea) | Fuller’s Earth | Hydrogen Peroxide | Use a low concentration of hydrogen peroxide to prevent bleaching. |
| Graffiti (Paint) | Calcium Carbonate | Appropriate Paint Remover (Test First) | Apply in thin layers and gently scrub with a soft brush. |
The consistency of the poultice is also important. It should be thick enough to adhere to the stone surface but not so thick that it dries out too quickly. A good poultice will have a creamy, paste-like consistency.
When applying the poultice, use a non-metallic spatula or trowel. Avoid using metal tools, as they can react with the poultice ingredients or scratch the stone surface. Apply the poultice evenly and cover the entire stained area.
The drying time for a poultice can vary depending on the type of stain, the type of stone, and the environmental conditions. Generally, it’s best to allow the poultice to dry completely before removing it. This can take anywhere from 24 to 48 hours.
When removing the poultice, use a plastic scraper or brush. Avoid using metal tools or abrasive materials. Gently scrape or brush away the dried poultice, being careful not to scratch the stone surface. Rinse the area thoroughly with water after removing the poultice.
Steam Cleaning: Removing Biological Growth
Steam cleaning is an excellent method for removing biological growth, such as algae, moss, and lichen, from stone surfaces. The high temperature of the steam kills the organisms and loosens their grip on the stone. It’s a relatively gentle and effective method.
Use a low-pressure steam cleaner with a wide nozzle to avoid concentrating the steam in one area. Move the nozzle slowly and steadily over the surface, allowing the steam to penetrate the growth. Avoid prolonged exposure to prevent overheating the stone.
After steam cleaning, brush the surface with a soft brush to remove any remaining debris. Rinse the area with water to remove any loosened material. Allow the stone to dry completely.
For particularly stubborn biological growth, you may need to repeat the steam cleaning process. In some cases, a mild biocide may be necessary, but always use the least toxic option and follow the manufacturer’s instructions carefully. Always test in an inconspicuous area first.
When steam cleaning, it’s important to maintain a consistent distance between the nozzle and the stone surface. This will help to ensure even heating and prevent localized overheating. A distance of several inches is usually sufficient.
Consider the type of biological growth you are trying to remove. Algae and moss are generally easier to remove than lichen, which can be deeply embedded in the stone surface. You may need to use a combination of steam cleaning and gentle scrubbing to remove stubborn lichen.
After steam cleaning, inspect the stone surface carefully for any signs of damage or discoloration. If you notice anything unusual, stop immediately and reassess your approach. It’s important to be patient and avoid using excessive force.
Steam cleaning can also be effective for removing some types of atmospheric pollution and surface staining. However, it’s not a substitute for other cleaning methods, such as poulticing or chemical cleaning. Use steam cleaning as part of a comprehensive cleaning strategy.
Chemical Cleaning: When Necessary
Chemical cleaning should be reserved for situations where other methods have failed. It involves the use of chemical solutions to dissolve or loosen stains and soiling. However, chemicals can be harsh and can damage the stone if not used properly.
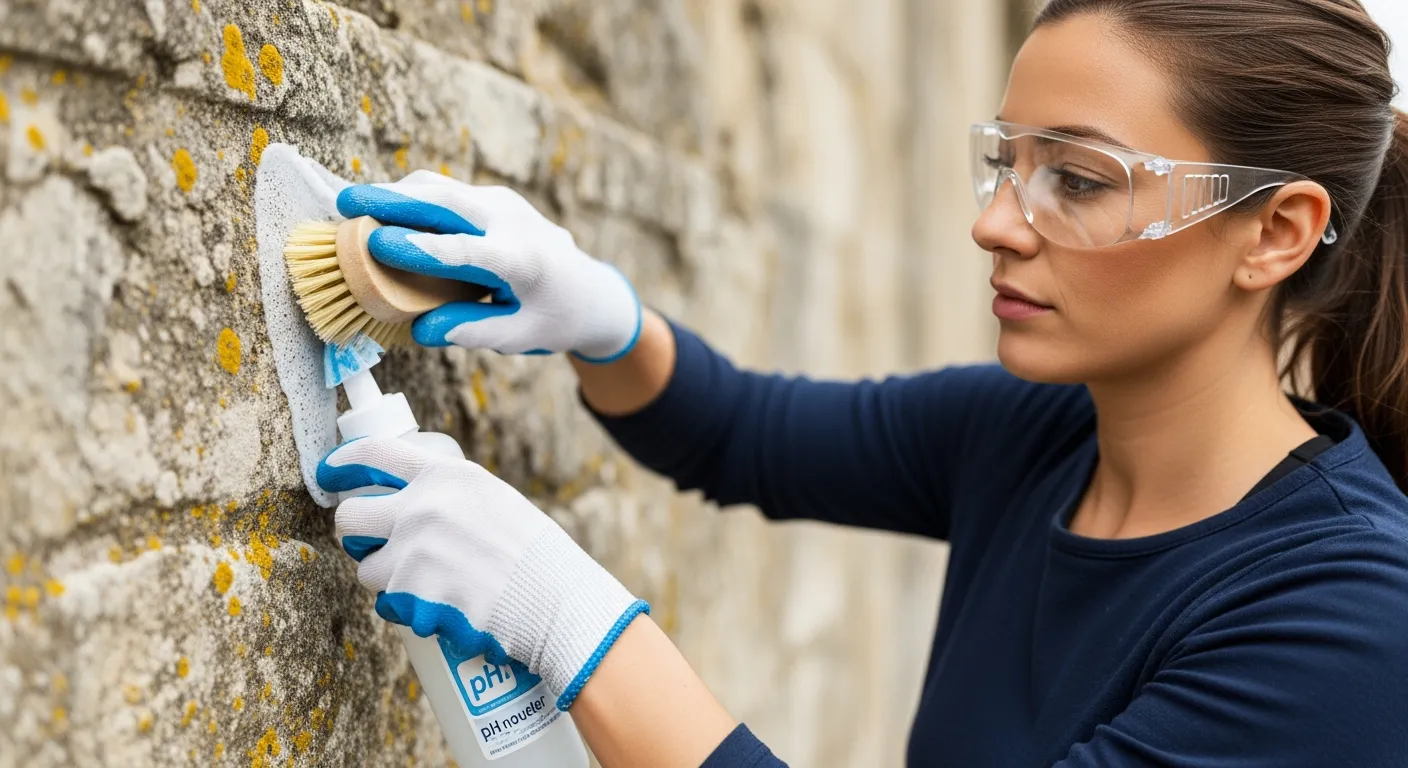
Always start with the mildest chemical cleaner appropriate for the type of stain and stone. Test the cleaner in a small, inconspicuous area first to assess its effect on the stone. Wear appropriate personal protective equipment, including gloves, eye protection, and a respirator if necessary.
Apply the chemical cleaner according to the manufacturer’s instructions. Use a soft brush or sponge to gently agitate the solution. Avoid scrubbing vigorously, as this can damage the stone surface. Allow the cleaner to dwell for the recommended time.
Rinse the stone thoroughly with water to remove all traces of the chemical cleaner. Neutralize the surface if necessary, following the manufacturer’s instructions. Allow the stone to dry completely. Proper ventilation is essential when using chemical cleaners.
When using chemical cleaners, it’s crucial to understand the potential risks and hazards. Read the product label carefully and follow all safety precautions. Always work in a well-ventilated area and avoid breathing in the fumes.
Consider the pH of the chemical cleaner. Acidic cleaners can damage acid-sensitive stones, while alkaline cleaners can damage alkaline-sensitive stones. Choose a cleaner with a pH that is appropriate for the type of stone you are cleaning.
The dwell time of the chemical cleaner is also important. Allowing the cleaner to dwell for too long can damage the stone surface. Follow the manufacturer’s instructions carefully and monitor the stone closely during the dwell time.
After rinsing the stone, inspect it carefully for any signs of damage or discoloration. If you notice anything unusual, stop immediately and reassess your approach. It’s important to be patient and avoid using excessive force or harsh chemicals.
Choosing the Right Chemical Cleaner
Selecting the correct chemical cleaner is essential for effective and safe stone cleaning. Different types of stains require different chemical solutions. Acidic cleaners are effective for removing mineral deposits, while alkaline cleaners are better for organic stains.
However, acidic cleaners can damage acid-sensitive stones like limestone and marble. Alkaline cleaners can etch some types of stone. Always consult with a stone conservation professional before using any chemical cleaner.
For mineral deposits on acid-resistant stones like granite, a diluted solution of hydrochloric acid (muriatic acid) can be used with caution. Always dilute the acid according to the manufacturer’s instructions and wear appropriate protective gear. Rinse thoroughly after application.
For organic stains on acid-resistant stones, a diluted solution of sodium hydroxide (lye) can be used. Again, exercise extreme caution and wear appropriate protective gear. Neutralize the surface with a mild acid solution after rinsing. Always dispose of chemical waste properly.
When choosing a chemical cleaner, consider its biodegradability and environmental impact. Opt for cleaners that are environmentally friendly and do not contain harsh chemicals that can harm the environment. Dispose of chemical waste properly according to local regulations.
Research the specific chemical composition of the cleaner and understand how it works. Some cleaners work by dissolving the stain, while others work by breaking it down into smaller particles. Choose a cleaner that is appropriate for the type of stain you are trying to remove.
Consider the concentration of the chemical cleaner. Some cleaners are available in concentrated form and need to be diluted before use. Always follow the manufacturer’s instructions carefully and dilute the cleaner according to the recommended ratio. Using a cleaner that is too concentrated can damage the stone surface.
Read reviews and testimonials from other users before choosing a chemical cleaner. This can give you valuable insights into the effectiveness and safety of the cleaner. However, remember that every stone is different, and what works for one stone may not work for another.
Protecting Surrounding Materials
When cleaning stone, it’s crucial to protect surrounding materials from the cleaning agents. This includes vegetation, metal, glass, and other building materials. Cover these areas with plastic sheeting or other protective materials.
If cleaning near vegetation, wet the plants thoroughly before starting and rinse them again after cleaning. This will help to prevent damage from any accidental overspray. Consider using a plant-safe cleaning solution if necessary.
Protect metal surfaces from acidic cleaners, as they can cause corrosion. Use a neutral cleaner or cover the metal with a protective coating. Clean glass surfaces immediately if they come into contact with any cleaning solution.
Be particularly careful when cleaning stone adjacent to painted surfaces. Chemical cleaners can dissolve or discolor paint. Use masking tape to protect the paint and test the cleaner in an inconspicuous area first.
When protecting surrounding materials, consider the potential for runoff. Cleaning solutions can run off the stone surface and onto other areas, causing damage or staining. Use barriers or absorbent materials to contain the runoff and prevent it from spreading.
Protect wooden surfaces from water damage. Water can cause wood to warp or rot. Cover wooden surfaces with plastic sheeting or other waterproof materials. Avoid using excessive water when cleaning near wood.
Be mindful of the wind direction. Wind can carry cleaning solutions onto unintended surfaces. Work on a calm day or use windbreaks to prevent overspray. Protect any sensitive areas that are downwind from the cleaning area.
Consider the potential for staining. Some cleaning solutions can stain certain materials. Test the cleaner in an inconspicuous area before using it near sensitive surfaces. Use protective coatings or sealants to prevent staining.
Preventing Future Staining
Once the stone is clean, taking steps to prevent future staining is essential. This can involve applying a protective sealant, improving drainage, and controlling vegetation growth. Regular maintenance can also help to keep the stone clean.
Apply a breathable stone sealant to protect the surface from water penetration and staining. Choose a sealant that is appropriate for the type of stone and the environment. Follow the manufacturer’s instructions carefully.
- Apply a breathable sealant
- Improve drainage around the stone structure
- Control vegetation growth near the stone
- Regularly clean the stone with water and a soft brush
- Address any cracks or fissures promptly
Improving drainage around the stone structure can help to prevent water from pooling and causing staining. Ensure that gutters and downspouts are functioning properly. Grade the surrounding area to direct water away from the stone.
Controlling vegetation growth near the stone can help to prevent staining from algae, moss, and lichen. Trim back any trees or shrubs that are overhanging the stone. Apply a biocide to kill any existing growth and prevent it from returning.
Regularly cleaning the stone with water and a soft brush can help to remove dirt and debris before they have a chance to stain the surface. Clean the stone at least once a year, or more often if it is located in a high-traffic area. A little prevention goes a long way.
Address any cracks or fissures promptly to prevent water from penetrating the stone and causing staining. Fill the cracks with a stone-compatible sealant or mortar. This will help to keep the stone dry and prevent further damage.
Regular Maintenance and Inspection
Regular maintenance and inspection are crucial for preserving stone surfaces. Inspect the stone regularly for signs of staining, biological growth, and damage. Address any issues promptly to prevent them from becoming more serious.
Clean the stone regularly with water and a soft brush to remove dirt and debris. Avoid using harsh cleaners or abrasive materials. Repair any cracks or fissures to prevent water penetration. Timely maintenance prevents bigger problems.
Monitor the performance of any sealants or protective coatings and reapply them as needed. Control vegetation growth near the stone to prevent staining and damage. Ensure that drainage systems are functioning properly.
Keep detailed records of all cleaning and maintenance activities. This will help you to track the condition of the stone and identify any recurring problems. Consult with a stone conservation professional as needed.
During inspections, pay close attention to areas that are prone to water damage, such as horizontal surfaces, joints, and areas near downspouts. These areas are more likely to develop staining, biological growth, and other problems. Early detection is key to preventing serious damage.
Develop a regular cleaning schedule and stick to it. This will help to prevent dirt and debris from building up on the stone surface. The frequency of cleaning will depend on the location and exposure of the stone. More exposed areas will require more frequent cleaning.
Train staff or contractors on proper stone cleaning and maintenance techniques. This will help to ensure that the stone is cleaned and maintained properly and that no damage is caused. Provide clear instructions and guidelines.
Establish a budget for stone cleaning and maintenance. This will help to ensure that you have the resources available to properly care for the stone. Consider the cost of cleaning materials, equipment, and labor. Proactive maintenance is more cost-effective than reactive repairs.
Conclusion
Gentle stone cleaning is crucial for preserving historic surfaces. By understanding the different methods available and the specific needs of the stone, you can ensure its longevity and beauty. Always prioritize the least aggressive approach and seek professional advice when needed.
Remember, preservation is always better than restoration. With careful planning and execution, you can protect these invaluable pieces of our heritage for generations to come. The best stone cleaning methods require patience and care.