
When undertaking a stone masonry project, one of the most critical aspects is the pointing, which is the mortar between the stones. Choosing the correct materials for pointing is essential to ensure the longevity and aesthetic appeal of the stonework. The best materials for pointing stone will depend on several factors, including the type of stone, the climate, and the desired appearance.
Understanding the properties of different pointing mortars is key to making an informed decision. This article explores the various options available, focusing on lime putty pointing, cement pointing, and hydraulic lime pointing, to help you select the best materials for pointing stone for your specific needs.
We will also cover the proper techniques for preparing stone joints and applying the pointing mortar to achieve a lasting and visually pleasing finish. Getting the pointing right is not just about aesthetics; it’s about protecting the structural integrity of the stone assembly. Let’s explore the best materials for pointing stone.
Understanding Pointing in Stone Masonry
Pointing is the process of filling the joints between stones with mortar, serving both structural and aesthetic purposes. It protects the stone from water damage by preventing moisture from penetrating the joints and causing erosion. Proper pointing also enhances the visual appeal of the stonework, creating a neat and finished look.
The choice of pointing mortar significantly impacts the durability and appearance of the stone structure. Using an incompatible mortar can lead to serious problems, such as cracking and spalling of the stone. Therefore, understanding the different types of pointing mortars and their properties is crucial for successful stone masonry.
Historically, pointing was often done with lime-based mortars, which are more flexible and breathable than modern cement-based mortars. However, the introduction of cement mortars in the 20th century brought about a shift, although not always for the better. Knowing the history helps us choose the best materials for pointing stone today.
The key is to select a mortar that is compatible with the specific type of stone being used. Compatibility includes factors such as the stone’s porosity, hardness, and thermal expansion coefficient. A mortar that is too hard or impermeable can cause the stone to deteriorate over time, so careful consideration is essential.
Lime Putty Pointing: Traditional and Breathable
Lime putty pointing is a traditional method that has been used for centuries in stone masonry. It involves using a mortar made from lime putty, which is produced by slaking quicklime and allowing it to mature for an extended period. The resulting mortar is highly workable and offers excellent breathability, making it an ideal choice for many historic and older stone structures.
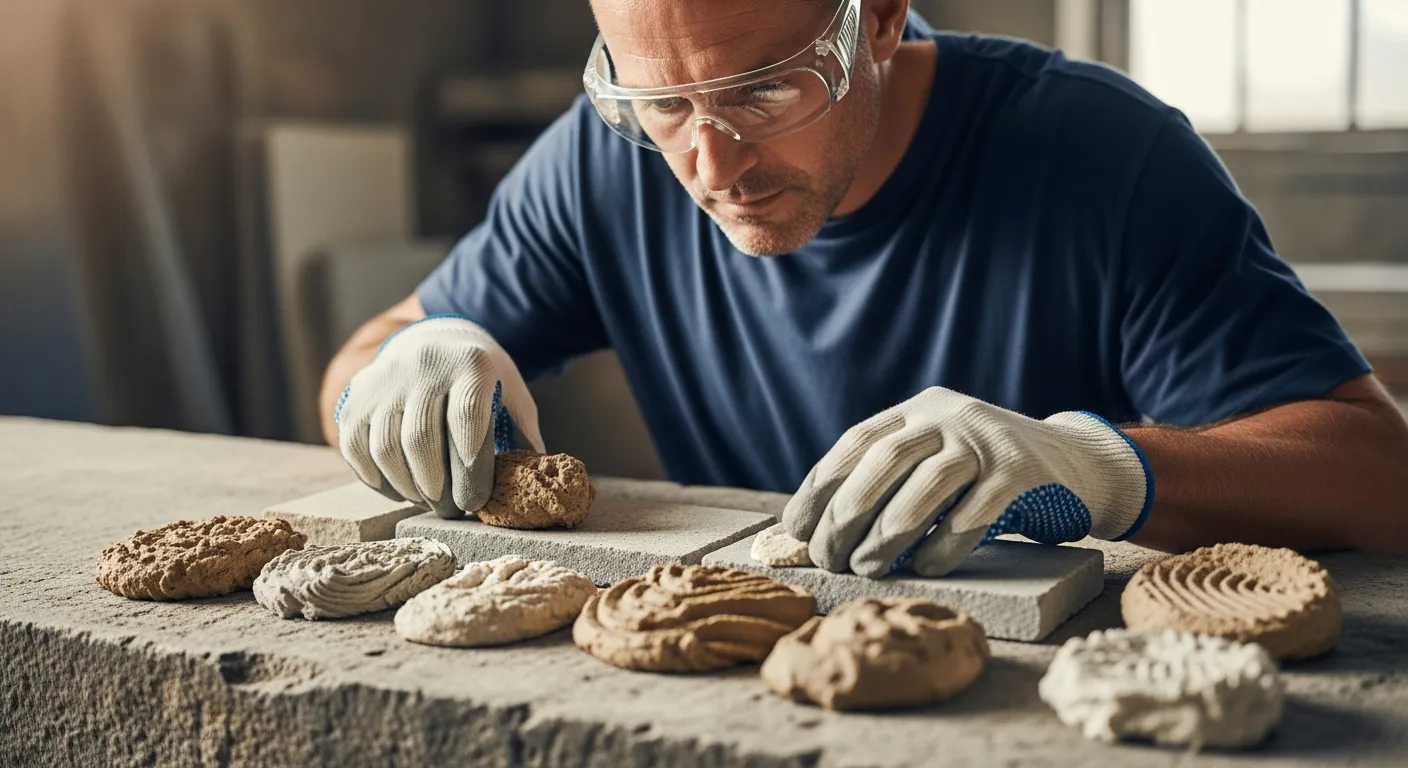
One of the main advantages of lime putty pointing is its flexibility. This flexibility allows the mortar to accommodate slight movements in the stone structure without cracking. This is particularly important in older buildings that may have settled over time, or in areas prone to seismic activity.
Lime putty mortars are also highly porous, allowing moisture to evaporate from the stone and mortar joints. This breathability helps to prevent moisture buildup, which can lead to frost damage and other deterioration issues. This is a significant advantage over more impermeable cement-based mortars, which can trap moisture and accelerate stone decay.
Another benefit of lime putty pointing is its ability to self-heal. Small cracks that may develop in the mortar can be naturally repaired as the lime recrystallizes over time. This self-healing property contributes to the longevity and durability of the pointing, reducing the need for frequent repairs.
Cement Pointing: Strength and Durability
Cement pointing involves using a mortar made from Portland cement, sand, and water. Cement mortars are known for their high strength and durability, making them a popular choice for modern construction projects. They provide a rigid and robust joint that can withstand heavy loads and resist erosion in harsh environments.
The primary advantage of cement pointing is its ability to create a strong, watertight seal. This is particularly important in situations where water penetration is a major concern. Cement mortars are also resistant to chemical attack, making them suitable for use in industrial areas or coastal environments where exposure to salts and pollutants is common.
However, the strength and impermeability of cement mortars can also be a disadvantage in some cases. When used with softer stones, the rigid cement mortar can cause the stone to crack or spall due to differential movement. The lack of breathability can also trap moisture within the stone, leading to accelerated decay.
Cement pointing is generally not recommended for use with historic stone structures or softer stone types. The best applications are typically modern construction using hard, durable stones where a strong, weather-resistant joint is required. Always consider the specific properties of the stone before opting for cement pointing.
Hydraulic Lime Pointing: A Balanced Approach
Hydraulic lime pointing offers a balanced approach, combining some of the benefits of both lime putty and cement mortars. Hydraulic lime mortars are made from lime that contains impurities that cause it to set hydraulically, meaning it can harden even in the absence of air. This makes them more durable and water-resistant than pure lime putty mortars, while still retaining some breathability and flexibility.
There are different types of hydraulic lime, ranging from feebly hydraulic (NHL 2) to moderately hydraulic (NHL 3.5) to eminently hydraulic (NHL 5). The choice of hydraulic lime depends on the exposure conditions and the type of stone being used. Generally, weaker hydraulic limes are suitable for sheltered locations and softer stones, while stronger hydraulic limes are appropriate for more exposed locations and harder stones.
| Type of Hydraulic Lime | Strength | Setting Time | Best Use Cases |
|---|---|---|---|
| NHL 2 (Feebly Hydraulic) | Low | Slow | Sheltered locations, soft stones |
| NHL 3.5 (Moderately Hydraulic) | Medium | Moderate | General-purpose, moderate exposure |
| NHL 5 (Eminently Hydraulic) | High | Fast | Exposed locations, hard stones |
| NHL-Modified | Varies | Varies | Custom mixes for specific needs |
Hydraulic lime mortars offer a good compromise between strength and flexibility. They are less likely to cause damage to softer stones compared to cement mortars, while still providing adequate durability and weather resistance. Their breathability also helps to manage moisture levels within the stone structure, reducing the risk of decay.
Color Considerations for Pointing Mortar
The color of the pointing mortar can significantly impact the overall aesthetic of the stone masonry. Choosing a color that complements the stone can enhance its natural beauty and create a harmonious appearance. Conversely, an inappropriate color can detract from the stonework and create a jarring effect.
Lime mortars tend to be naturally lighter in color, ranging from off-white to light gray. This can be an advantage when working with light-colored stones, as the mortar will blend seamlessly with the surrounding material. However, lime mortars can also be tinted with pigments to achieve a desired color.
Cement mortars are typically gray in color, but they can also be modified with pigments to create a range of shades. Darker pigments are often used to create a more dramatic contrast with light-colored stones, while lighter pigments can be used to blend with darker stones. Experimentation is key.
When selecting a color, it’s important to consider the overall context of the building or structure. The color of the surrounding landscape, the architectural style, and the historical period can all influence the choice of mortar color. Always test a small area before applying the mortar to the entire project to ensure the desired effect is achieved.
Preparing Stone Joints for Pointing
Proper preparation of the stone joints is essential for achieving a successful and long-lasting pointing job. The joints must be clean, free of loose material, and properly dampened to ensure good adhesion of the mortar. Neglecting this step can lead to weak bonds and premature failure of the pointing.
Start by removing any existing loose or deteriorated mortar from the joints. This can be done using a chisel and hammer, a power grinder with a diamond blade, or a specialized pointing tool. Take care not to damage the edges of the stones during this process.
- Remove loose mortar
- Clean out debris
- Dampen the joints
- Use appropriate tools
- Wear safety glasses
Once the loose mortar has been removed, clean out any remaining debris from the joints using a brush or compressed air. It’s important to remove all dust and dirt to ensure a clean surface for the new mortar to bond to. A vacuum cleaner can also be helpful for removing fine particles.
Applying Pointing Mortar Correctly
Applying the pointing mortar correctly is crucial for achieving a durable and aesthetically pleasing finish. The mortar should be properly mixed, applied in layers, and carefully tooled to create the desired joint profile. Rushing this process can result in weak joints and an unprofessional appearance.
Begin by mixing the mortar according to the manufacturer’s instructions. The consistency should be plastic and workable, but not too wet or soupy. A good test is to form a ball of mortar in your hand; it should hold its shape without slumping or crumbling.
Dampen the prepared stone joints with a brush or spray bottle. This will help to prevent the mortar from drying out too quickly and ensure a good bond. However, avoid over-wetting the joints, as this can weaken the mortar.
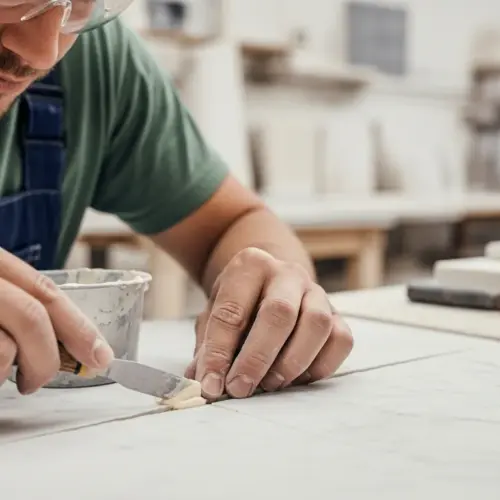
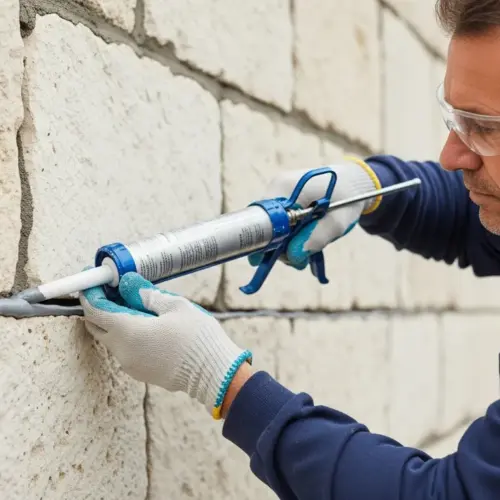
Apply the mortar in thin layers, pressing it firmly into the joints. Use a pointing trowel or a similar tool to pack the mortar tightly, ensuring that there are no voids or air pockets. Overfill the joints slightly, allowing for tooling and settlement.
Tooling and Finishing the Joints
Tooling and finishing the joints is the final step in the pointing process. This involves shaping the mortar to create the desired joint profile and removing any excess material. The tooling should be done when the mortar is partially set but still pliable, typically a few hours after application.
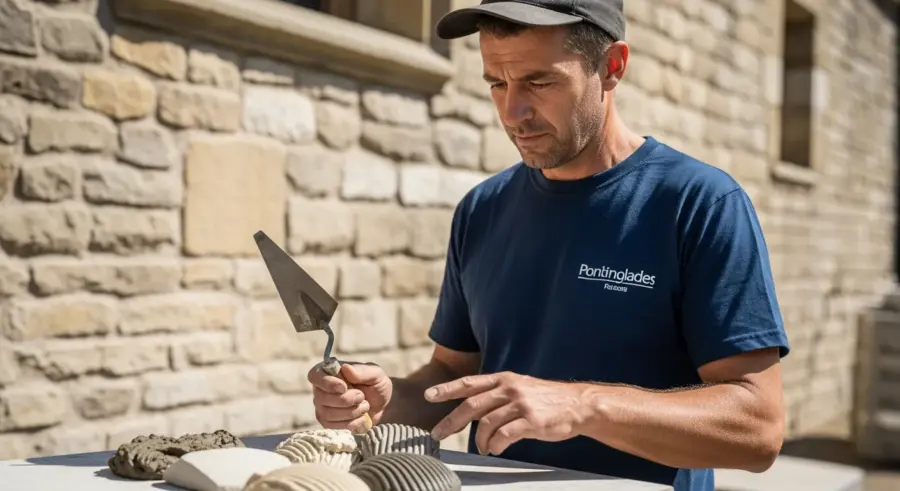
There are several different joint profiles to choose from, including flush, recessed, weathered, and beaded. The choice of profile depends on the aesthetic preferences and the historical context of the building. Each profile has its own unique appearance and requires different tooling techniques.
A flush joint is created by smoothing the mortar flush with the surface of the stone. This is a simple and unobtrusive profile that is often used in modern construction. A recessed joint is created by pressing the mortar back slightly from the surface of the stone, creating a shadow line.
A weathered joint is sloped to allow water to run off the stone, helping to protect it from erosion. A beaded joint is rounded and projects slightly from the surface of the stone, creating a decorative effect. Select a joint profile that fits the building.
Curing and Protecting the Pointing
Proper curing is essential for ensuring the strength and durability of the pointing mortar. Curing involves keeping the mortar moist for several days after application to allow it to hydrate properly. This is particularly important in hot or dry weather, which can cause the mortar to dry out too quickly and crack.
One way to cure the pointing is to mist it regularly with water using a spray bottle or hose. Another option is to cover the pointing with damp burlap or plastic sheeting. This will help to retain moisture and prevent the mortar from drying out too quickly.
Protect the pointing from extreme weather conditions during the curing process. Avoid pointing in direct sunlight, during heavy rain, or when temperatures are below freezing. These conditions can negatively impact the curing process and weaken the mortar.
Allow the pointing to cure for at least 7 days before exposing it to heavy traffic or other stresses. The longer the mortar is allowed to cure, the stronger and more durable it will become. A slow cure is a strong cure.
Conclusion
Choosing the best materials for pointing stone requires careful consideration of various factors, including the type of stone, the climate, and the desired aesthetic. Lime putty pointing offers traditional breathability, cement pointing provides strength and durability, and hydraulic lime pointing strikes a balanced approach.
Proper preparation, application, tooling, and curing are all essential for achieving a long-lasting and visually pleasing finish. By following these guidelines, you can ensure that your stone masonry project stands the test of time. Remember to always prioritize compatibility between the mortar and the stone.