Creating a beautiful and functional garden path doesn’t require hiring a professional. With a little effort and the right materials, you can design and install your own stone stepping stones. This guide will walk you through the process of creating stone stepping stones, from choosing the right materials to maintaining your new garden feature.
Whether you’re looking to add a touch of rustic charm or a modern, minimalist pathway, Creating Stone Stepping Stones is a rewarding DIY project. Get ready to transform your outdoor space with these natural and inviting garden path stones.
Let’s get started and explore the steps involved in making your own unique and durable path. You’ll find that Creating Stone Stepping Stones is not only achievable but also a fun way to personalize your garden.
Choosing Your Stepping Stone Material
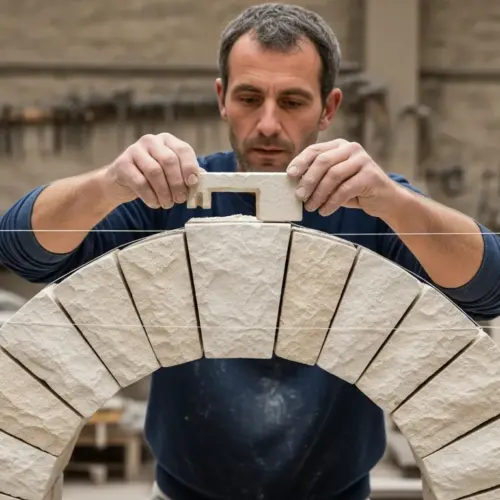
The first step in Creating Stone Stepping Stones is selecting the right material. The type of stone you choose will greatly influence the look and feel of your garden path.
Consider the overall aesthetic of your garden when making your selection. Do you prefer a more natural, rustic look, or something more refined and modern?
Flagstone is a popular choice for its irregular shapes and natural texture. It comes in a variety of colors, including blues, reds, and browns, allowing you to match your existing garden décor.
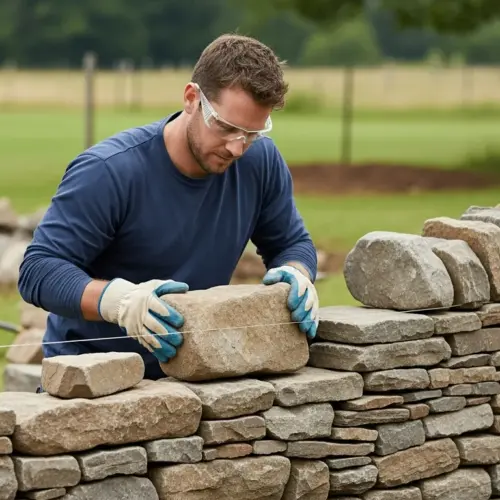
For a more formal look, consider using cut stone, such as bluestone or granite. These stones have clean lines and a uniform appearance, lending a touch of elegance to your garden.
Gravel is another great option for garden path stones. It is affordable, easy to install, and comes in a variety of colors and textures.
If you’re looking for something unique, consider using reclaimed materials like broken concrete or old pavers. These can add a touch of character and history to your garden path.
Think about the durability of the stone, too. Some stones are more porous than others and may be susceptible to cracking or crumbling in harsh weather conditions.
Also, consider the weight of the stones, especially if you’re planning a large path. Heavier stones will require more effort to move and install.
Local availability is another factor to keep in mind. Sourcing stones locally can often be more cost-effective and environmentally friendly.
Don’t be afraid to mix and match different types of stones to create a unique and interesting pathway. Just make sure the colors and textures complement each other.
Before making a final decision, it’s a good idea to see the stones in person. Visit a local stone yard or garden center to get a better sense of their color, texture, and size.
Consider the long-term maintenance requirements of each type of stone. Some stones may require sealing or other treatments to protect them from the elements.
Finally, factor in your budget. The cost of different types of stones can vary widely, so it’s important to find something that fits your price range.
Remember, the right stone will not only enhance the beauty of your garden but also provide a safe and durable pathway for years to come. Take your time and choose wisely!
Designing Your Stepping Stone Path
Before you start digging, take some time to plan the layout of your stone stepping stones. Consider the function of the path and how it will be used.
Will it be a primary route through the garden, or a more informal pathway for leisurely strolls? The answer to this question will influence the width and spacing of your stones.
For a main pathway, you’ll want to ensure the stones are wide enough to comfortably walk on side-by-side. A minimum width of 24 inches is generally recommended for garden path stones.
If the path is primarily for one person, you can reduce the width to around 18 inches. The spacing between stones should also be considered.
A comfortable step length is typically between 12 and 18 inches. You can experiment with different spacings to find what feels most natural to you.
Consider the curves and bends in your garden when designing your path. A winding path can add visual interest and encourage exploration.
Think about the surrounding plants and features in your garden. How will the path interact with them?
Will it lead to a specific destination, such as a seating area or a water feature? Or will it simply meander through the garden, offering a pleasant stroll?
Consider using a garden hose or rope to lay out the path before you start digging. This will allow you to visualize the path and make any necessary adjustments.
Pay attention to the natural flow of the landscape. Try to follow the contours of the land as much as possible to create a path that feels organic and natural.
Think about the drainage of your garden. Avoid creating a path that will collect water or become muddy after rain.
If you have any slopes in your garden, consider incorporating steps into your path. This will make it easier and safer to navigate.
Consider adding lighting to your path for nighttime enjoyment. Solar-powered lights are a convenient and eco-friendly option.
Don’t be afraid to get creative with your design. Experiment with different shapes, sizes, and arrangements of stones to create a unique and personalized pathway.
Remember to keep the overall style of your garden in mind. The path should complement the existing landscape and enhance its beauty.
A well-designed path will not only provide a functional route through your garden but also add visual interest and enhance the overall enjoyment of your outdoor space.
Estimating Materials
Once you have a basic design in mind, you’ll need to estimate the amount of materials required. This will help you avoid unnecessary trips to the hardware store.
Start by measuring the total length of your proposed path. This will give you a good idea of how many stones you’ll need.
| Material | Purpose | Estimated Quantity |
|---|---|---|
| Stepping Stones | Path surface | Based on path length and spacing |
| Gravel or Sand | Base material for leveling | 1-2 inches deep, covering path area |
| Edging Material (optional) | To contain loose materials | Sufficient to line the path’s perimeter |
| Weed Barrier Fabric | To prevent weed growth | Sufficient to cover path area |
For gravel or sand, calculate the volume needed based on the path’s area and desired depth. A depth of 1-2 inches is usually sufficient for leveling the stones.
Consider the size and shape of your stepping stones when calculating the number you need. Larger stones will cover more area, while smaller stones will require more to fill the same space.
Don’t forget to factor in any waste or breakage. It’s always a good idea to order a few extra stones to account for any mishaps during installation.
If you’re using edging, measure the perimeter of your path to determine how much edging material you’ll need. Add a little extra for overlaps and cuts.
When estimating the amount of weed barrier fabric, be sure to overlap the edges to prevent weeds from growing through the seams. A generous overlap of 6-12 inches is recommended.
Consider the weight of the materials when planning your project. You may need to rent a truck or trailer to transport the stones and gravel.
It’s always better to overestimate than underestimate. Running out of materials in the middle of a project can be frustrating and time-consuming.
Check with your local hardware store or garden center for advice on estimating materials. They can often provide helpful tips and guidance.
Keep a detailed list of all the materials you need, along with their quantities and prices. This will help you stay organized and on budget.
Don’t forget to factor in the cost of tools and equipment, such as shovels, rakes, levels, and tampers. You may already have some of these items on hand, but others you may need to rent or purchase.
Consider the delivery fees for your materials. Some suppliers offer free delivery for large orders, while others charge a fee based on distance and weight.
By taking the time to estimate your materials accurately, you can save yourself time, money, and frustration in the long run. A well-planned project is a successful project!
Preparing the Ground
Proper ground preparation is essential for a stable and long-lasting stone stepping stones path. This step ensures that your stones won’t sink or shift over time.
Start by marking out the outline of your path using stakes and string. This will help you visualize the final result and ensure that you stay within your planned boundaries.
Next, remove any existing vegetation, including grass, weeds, and roots. A sharp spade or garden fork can be used for this task.
Dig down to a depth of about 4-6 inches. This will provide enough space for a base layer of gravel or sand and the thickness of your stones.
Compact the soil at the bottom of the excavated area using a hand tamper or plate compactor. This will create a solid foundation for your path.
Lay down a layer of weed barrier fabric to prevent weeds from growing up through your stones. Overlap the edges of the fabric by several inches to ensure complete coverage.
Consider the existing soil conditions. If the soil is heavy clay, it may be necessary to amend it with compost or other organic matter to improve drainage.
If the soil is very sandy, it may be necessary to add topsoil or other materials to provide a more stable base for the stones.
Remove any large rocks or debris from the excavated area. These can interfere with the placement of the stones and create uneven surfaces.
Check the slope of the path to ensure proper drainage. The path should slope slightly away from your house or other structures to prevent water from pooling.
Use a level to ensure that the excavated area is even and consistent. This will make it easier to set the stones and create a level pathway.
Consider using a soil testing kit to determine the pH level of your soil. This can help you choose the right type of gravel or sand for your base layer.
If you’re working in a sloped area, consider building retaining walls to support the path and prevent erosion. Retaining walls can be made from stone, wood, or concrete.
Take your time with the ground preparation process. A well-prepared base will ensure that your stone stepping stones path is stable, durable, and beautiful for years to come.
Remember, the foundation is just as important as the stones themselves. Don’t skimp on this step!
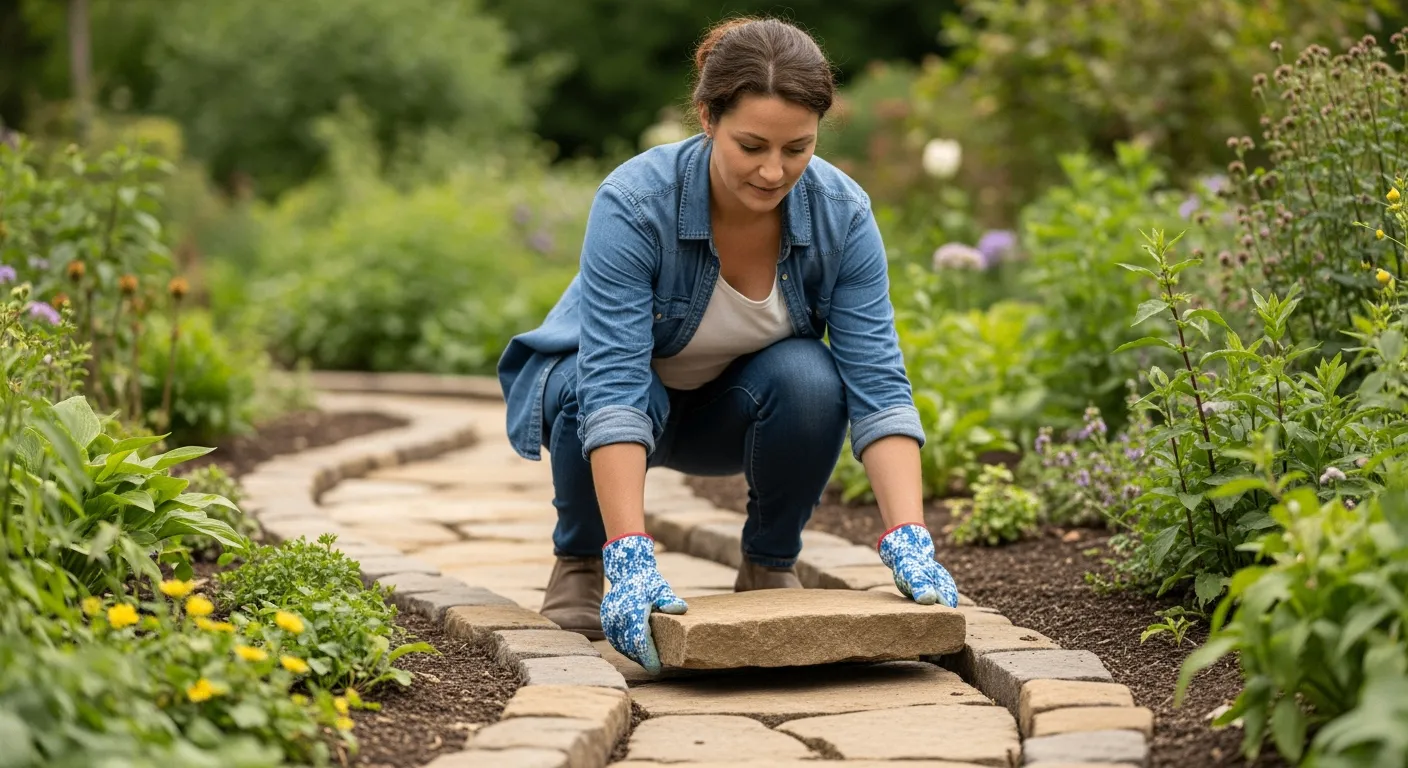
Setting the Stepping Stones
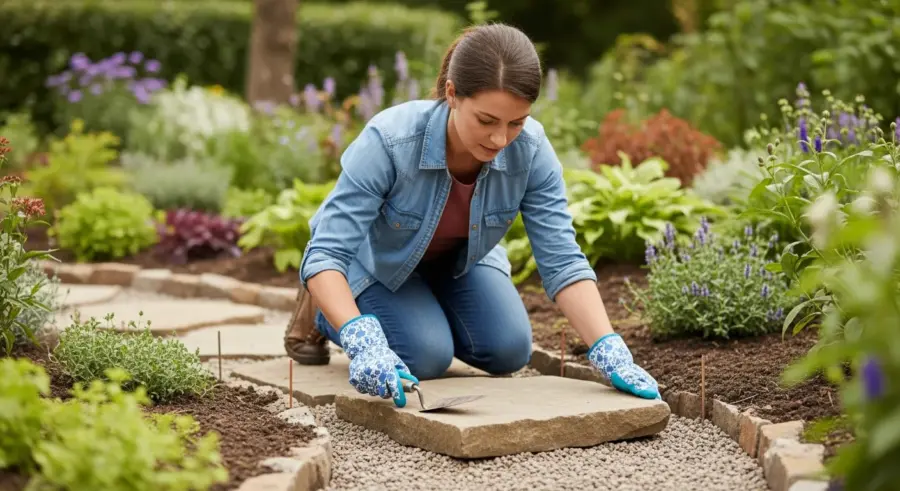
Now comes the fun part: setting your stone stepping stones. This is where your design starts to come to life.
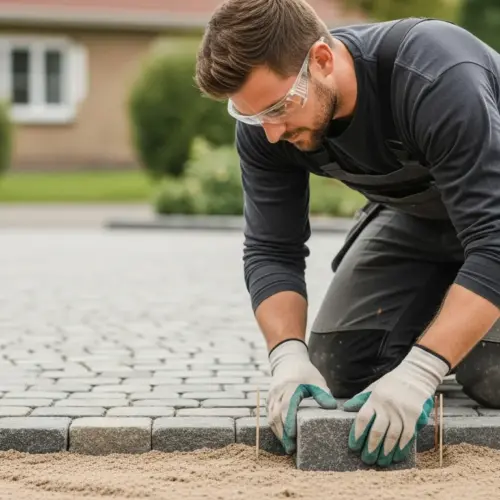
Begin by placing a layer of gravel or sand over the weed barrier fabric. Spread it evenly and compact it lightly with a hand tamper.
Position each stone in its desired location, following your planned layout. Use a level to ensure that each stone is flat and stable.
Add or remove gravel or sand as needed to adjust the height of each stone. The goal is to have the stones sit flush with the surrounding ground.
Once you’re happy with the placement of a stone, use a rubber mallet to gently tap it into place. This will help it settle into the base layer.
Repeat this process for each stone, working your way along the path. Take your time and make adjustments as needed to achieve a natural and pleasing look.
Consider the weight of each stone when lifting and positioning it. Use proper lifting techniques to avoid back injuries.
If you’re working with large or heavy stones, consider using a dolly or wheelbarrow to transport them to the site.
Pay attention to the spacing between the stones. A consistent spacing will create a more uniform and professional look.
Use a string line to help you align the stones. This will ensure that the path is straight and even.
Don’t be afraid to experiment with different arrangements of stones. Try rotating them or offsetting them to create a more interesting pattern.
Use a rubber mallet to gently tap the stones into place. Avoid using a metal hammer, as this can damage the stones.
Check the level of each stone frequently to ensure that it is flat and stable. Make any necessary adjustments to the base layer.
Step back and admire your work from time to time. This will help you identify any areas that need improvement.
Take breaks as needed. Setting stones can be physically demanding, so it’s important to pace yourself.
Remember to have fun! Creating a stone stepping stones path is a rewarding project that you can enjoy for years to come.
Filling the Gaps
Once the stones are set, you’ll need to fill the gaps between them. This will help to stabilize the stones and create a more finished look.
There are several options for filling the gaps, including gravel, sand, mulch, or ground cover plants. The best choice will depend on your personal preference and the overall style of your garden.
- Gravel: Provides good drainage and a natural look
- Sand: Creates a smooth, even surface
- Mulch: Adds organic matter to the soil and suppresses weeds
- Ground cover plants: Softens the edges of the stones and adds greenery
- Moss: Creates a lush, woodland feel
If you choose to use gravel or sand, simply pour it into the gaps and sweep it into place with a broom. Be sure to compact the material slightly to prevent it from shifting.
Consider the size and color of the gravel or sand when making your selection. Choose a material that complements the stones and the surrounding landscape.
If you’re using mulch, choose a type that is appropriate for your climate and soil conditions. Avoid using mulch that is too coarse or that will decompose too quickly.
If you’re planting ground cover plants, choose varieties that are low-growing and that will tolerate foot traffic. Consider using creeping thyme, sedum, or chamomile.
When filling the gaps, be sure to leave enough space for the plants to grow. Avoid packing the material too tightly around the stones.
Water the area thoroughly after filling the gaps. This will help to settle the material and encourage the plants to take root.
Consider using a combination of different materials to fill the gaps. For example, you could use gravel in some areas and ground cover plants in others.
Regularly inspect the gaps and replenish the material as needed. This will help to keep the stones stable and prevent weed growth.
If you live in an area with heavy rainfall, consider using a permeable material to fill the gaps. This will help to prevent water from pooling on the path.
Don’t be afraid to get creative with your gap-filling choices. This is an opportunity to add your own personal touch to the path.
The right gap-filling material will not only stabilize the stones but also enhance the beauty and functionality of the path.
Consider the long-term maintenance requirements of each material when making your decision. Some materials may require more upkeep than others.
Remember to choose a material that is safe for plants and pets. Avoid using materials that contain harmful chemicals or toxins.
Adding Edging (Optional)
Adding edging to your stone stepping stones path is optional, but it can provide several benefits. Edging helps to define the path, prevent erosion, and keep loose materials in place.
There are many different types of edging to choose from, including plastic, metal, wood, and stone. The best choice will depend on your budget and the overall style of your garden.
Plastic edging is an affordable and easy-to-install option. It comes in a variety of styles and colors, and can be easily bent to follow the curves of your path.
Metal edging is more durable and provides a clean, modern look. It is typically made from aluminum or steel and can be easily cut to size.
Wood edging adds a natural and rustic touch to your garden. It can be made from treated lumber or reclaimed wood.
Stone edging is the most durable and visually appealing option. It can be made from natural stone or manufactured pavers.
Consider the height of the edging when making your selection. Taller edging will provide more support and containment, while shorter edging will be less visible.
Choose an edging material that is resistant to rot, insects, and the elements. This will help to ensure that it lasts for many years.
Install the edging before filling the gaps between the stones. This will make it easier to contain the material and create a clean, finished look.
Use stakes or pegs to secure the edging in place. Drive them into the ground at regular intervals to prevent the edging from shifting.
If you’re using flexible edging, such as plastic or metal, be sure to curve it gently to follow the contours of the path. Avoid making sharp bends or corners.
Consider using a contrasting color or texture for the edging to create a visual accent. This can help to define the path and make it more prominent.
If you’re using stone edging, be sure to set the stones securely in the ground. Use mortar or construction adhesive to hold them in place.
Regularly inspect the edging for any signs of damage or wear. Repair or replace it as needed to maintain its functionality and appearance.
Edging is a great way to add a touch of polish and sophistication to your stone stepping stones path. It can also help to protect your garden from erosion and weed growth.
Choose an edging material that complements the style of your garden and that will provide the level of support and containment that you need.
Maintaining Your Stone Path
With proper care, your stone stepping stones path will provide years of enjoyment. Regular maintenance will help to keep it looking its best and prevent any problems from developing.
Periodically sweep the path to remove any debris, such as leaves, dirt, and twigs. This will help to prevent the growth of mold and mildew.
Inspect the stones regularly for any signs of shifting or settling. If you notice any movement, add or remove gravel or sand as needed to re-level the stones.
Pull any weeds that grow up through the gaps between the stones. A weeding tool or a dose of weed killer can be used for this task.
If you live in an area with harsh winters, consider applying a de-icing salt to the path to prevent ice from forming. Be sure to choose a salt that is safe for plants and pets.
Every few years, you may need to replenish the gravel or sand in the gaps between the stones. This will help to maintain the stability of the path and prevent weed growth.
Consider sealing the stones to protect them from staining and weathering. This is especially important for porous stones, such as sandstone or limestone.
If you notice any cracks or chips in the stones, repair them promptly. This will prevent them from getting worse and potentially causing safety hazards.
Trim any overhanging plants or shrubs that may be blocking the path. This will help to keep the path clear and prevent it from becoming overgrown.
Consider using a pressure washer to clean the path periodically. This will remove any dirt, grime, or algae that may have accumulated over time.
If you have pets, be sure to clean up after them promptly. Pet waste can stain the stones and attract insects.
Avoid using harsh chemicals or cleaning products on the path. These can damage the stones and harm the environment.
Regular maintenance will help to keep your stone stepping stones path looking beautiful and functioning properly for many years to come.
A little bit of effort can go a long way in preserving the beauty and longevity of your garden path.
Don’t neglect your path! It’s an important part of your garden landscape and deserves your attention.
Conclusion
Creating Stone Stepping Stones is a simple and rewarding DIY project that can transform your garden. By following these steps, you can create a beautiful and functional pathway that will last for years to come.
Remember to choose materials that complement your garden’s style and take your time with the installation process. With a little effort, you can create a stone stepping stones path that you’ll be proud of.
So, gather your materials, put on your gloves, and get ready to transform your outdoor space. Happy Creating Stone Stepping Stones!
Your new stone path will not only enhance the beauty of your garden but also provide a practical and inviting way to explore your outdoor space.
Enjoy the process of creating your path and the many years of enjoyment it will bring.
Creating a stone path is an investment in your home and your well-being. So, get started today!