Lime mortar repointing is a crucial skill for anyone involved in the maintenance and restoration of historic stone structures. Over time, the mortar joints between stones degrade due to weathering, erosion, and movement.
This can lead to water penetration, structural instability, and accelerated deterioration of the stonework.
Proper repointing with lime mortar not only restores the aesthetic appearance of the structure but also protects it from further damage. This guide provides a step-by-step approach to lime mortar repointing, ensuring the longevity and integrity of your stone structures.
The goal is to provide clear instructions and helpful tips for achieving professional-quality results.
Whether you’re a seasoned professional or a DIY enthusiast, understanding the correct techniques and materials is essential for achieving durable and sympathetic repairs. By following these guidelines, you can confidently undertake lime mortar repointing projects that respect the heritage and character of the building.
This guide aims to equip you with the knowledge and confidence needed to tackle lime mortar repointing projects successfully.
Understanding Lime Mortar and Its Benefits
Lime mortar differs significantly from modern cement-based mortars. It is a porous material made from lime, aggregate (sand), and water.
The specific ratio of these components can vary depending on the application and desired properties of the mortar.
This porosity allows the mortar to breathe, meaning it can absorb and release moisture. This is particularly important in historic buildings, where the original construction materials were designed to work together in a breathable system.
Breathability helps to prevent moisture buildup within the walls, which can lead to dampness, mold growth, and structural damage.
One of the primary benefits of using lime mortar is its flexibility. Unlike rigid cement mortars, lime mortar can accommodate slight movements in the stone structure without cracking.
This is especially crucial in older buildings that may have settled or experienced ground movement over time.
This flexibility reduces stress on the surrounding stones and prevents damage. Lime mortar is also more environmentally friendly than cement, as its production requires less energy and it can reabsorb carbon dioxide from the atmosphere over time.
The carbonation process, where lime absorbs CO2, contributes to a lower carbon footprint compared to cement production.
Furthermore, lime mortar is often sourced locally, reducing transportation costs and supporting local economies.
Choosing lime mortar demonstrates a commitment to sustainable building practices and preserving historical integrity.
Essential Tools and Materials for Repointing
Before starting any repointing project, gather the necessary tools and materials. Having everything on hand will make the process smoother and more efficient.
Proper preparation saves time and reduces the risk of errors.
You’ll need a variety of hand tools, including a pointing trowel, hawk, joint raker, and masonry brush. A soft brush is also helpful for cleaning surfaces.
Different sizes of pointing trowels may be needed for various joint widths.
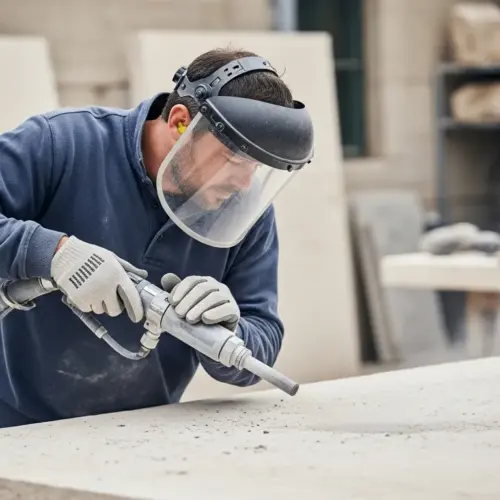
Safety gear is crucial to protect yourself during the repointing process. Wear safety glasses, gloves, and a dust mask to avoid injury and exposure to dust and lime.
Lime can be caustic and irritating to the skin and eyes, so proper protection is essential.
The lime mortar itself is essential. Choose a suitable type of lime mortar for your project, considering the existing mortar and the exposure of the structure.
There are different types of lime mortar, including non-hydraulic, moderately hydraulic, and highly hydraulic, each with different setting properties and strengths.
Non-hydraulic lime mortar sets slowly through carbonation and is best suited for sheltered internal environments.
Hydraulic lime mortars contain impurities that allow them to set more quickly and are suitable for more exposed locations.
Selecting the appropriate type of lime mortar ensures compatibility with the existing structure and long-term durability.
Consider also having a bucket, mixing tools, and clean water readily available.
These seemingly simple items are vital for properly preparing and applying the mortar.
Preparing the Stone Structure for Repointing
Proper preparation is key to ensuring a successful and long-lasting repointing job. Start by carefully inspecting the existing mortar joints.
This initial assessment helps identify the extent of the damage and informs the repair strategy.
Identify any areas where the mortar is cracked, loose, or missing. Remove the old, deteriorated mortar from the joints using a joint raker or a small chisel and hammer.
Take care to remove all loose and crumbling material to provide a sound surface for the new mortar.
| Preparation Step | Description | Importance |
|---|---|---|
| Mortar Removal | Carefully rake out old mortar to a depth of 2-3 times the joint width. | Ensures proper adhesion of new mortar. |
| Cleaning Joints | Use a brush and water to remove dust and debris from the joints. | Creates a clean surface for bonding. |
| Dampening Stones | Lightly dampen the stones before applying mortar. | Prevents the stones from absorbing too much moisture from the mortar. |
| Protection | Cover surrounding areas to protect from mortar stains. | Maintains the appearance of the stone structure. |
This table summarizes the key preparation steps and their significance.
Be careful not to damage the surrounding stones during this process. Rake out the joints to a depth of at least 2 to 3 times their width to provide adequate space for the new mortar.
This depth allows for a good bond between the old and new mortar, ensuring a durable repair.
After removing the old mortar, thoroughly clean the joints with a brush and water to remove any remaining dust or debris.
A clean surface promotes better adhesion of the new mortar.
Finally, dampen the stones with clean water before applying the mortar. This helps to control the suction of the stones and prevents the mortar from drying out too quickly.
Dampening ensures that the mortar retains sufficient moisture for proper curing.
Mixing and Applying Lime Mortar
Mixing lime mortar correctly is crucial for achieving the desired consistency and performance. Always follow the manufacturer’s instructions for the specific type of lime mortar you are using.
Different lime mortars may require different mixing ratios and techniques.
Typically, this involves combining the lime and aggregate with water in a clean container. Mix the ingredients thoroughly until you achieve a plastic, workable consistency similar to that of stiff plaster.
Avoid adding too much water, as this can weaken the mortar.
Before applying the mortar, dampen the prepared joints with a brush and clean water. This helps to control the suction of the stones and prevents the mortar from drying out too quickly.
The stones should be damp but not saturated.
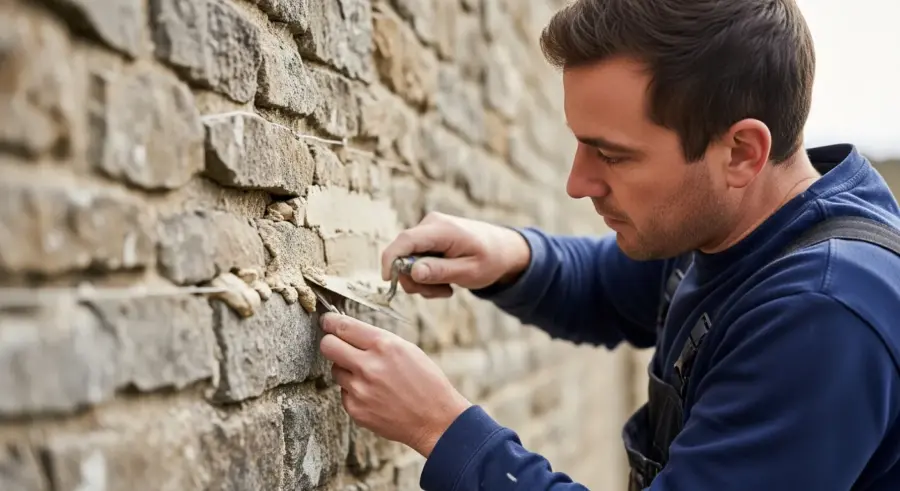
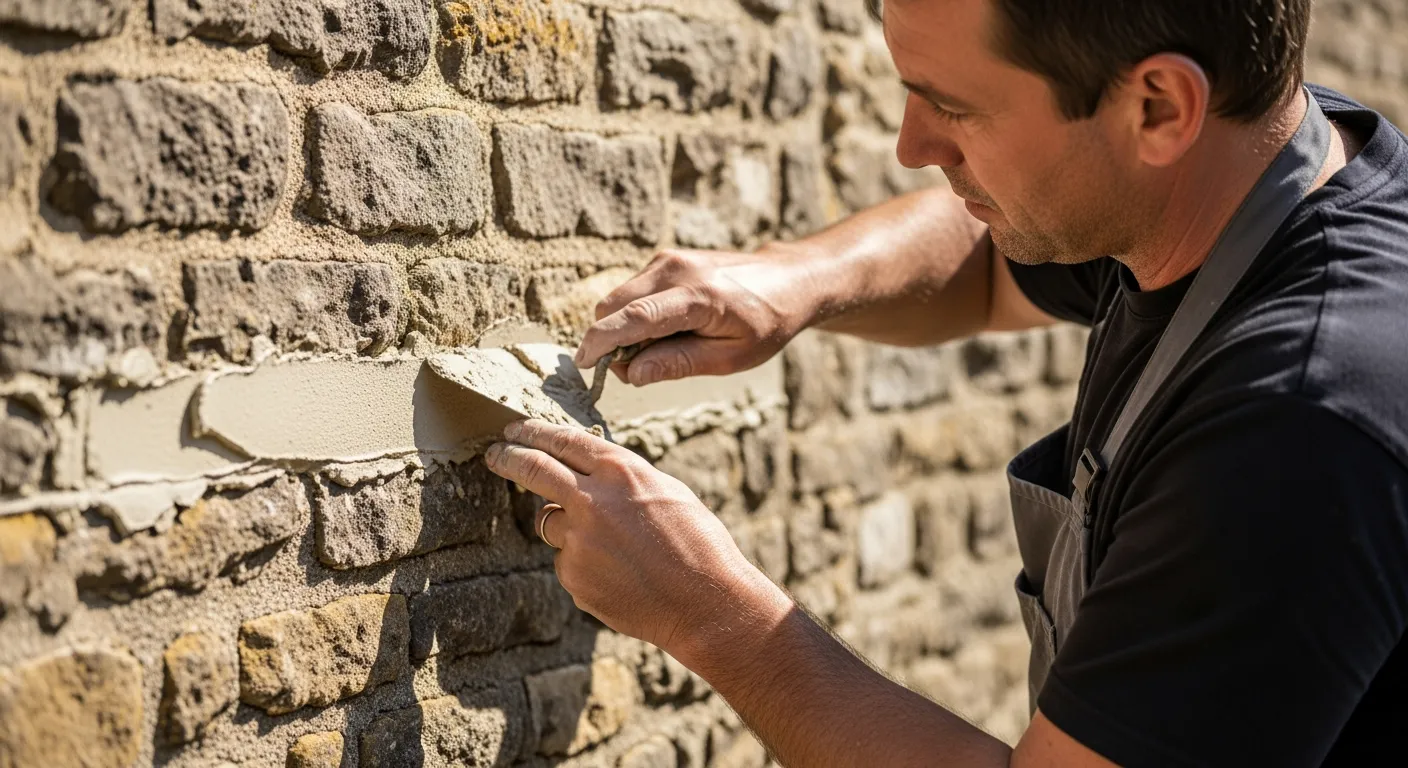
Use a pointing trowel to carefully pack the lime mortar into the joints. Work in small sections and apply the mortar in layers, ensuring that it fills the entire depth of the joint.
Press the mortar firmly into the joints to eliminate air pockets and ensure good contact with the stones.
Overfilling the joints slightly is recommended, as the mortar will shrink slightly as it cures.
Remove any excess mortar from the face of the stones with a clean trowel.
This prevents staining and ensures a neat finish.
Finishing and Curing the Repointed Joints
Once the mortar has been applied, it’s time to finish the joints to achieve the desired appearance. There are several different joint profiles that can be used, depending on the style of the building and the existing mortar joints.
The choice of joint profile can significantly impact the aesthetic of the building.
Common joint profiles include flush, recessed, and weather-struck. Use a pointing trowel to carefully shape the mortar to the desired profile while it is still pliable.
A flush joint is level with the surface of the stones, while a recessed joint is set back slightly.
A weather-struck joint is angled to deflect rainwater away from the wall.
The jointing style should be consistent throughout the project.
- Protect from direct sunlight
- Maintain consistent moisture levels
- Use hessian or plastic sheeting
- Avoid rapid drying
- Mist with water regularly
These steps are crucial for proper curing of the lime mortar.
Curing is a critical step in the lime mortar repointing process. Lime mortar hardens through a process called carbonation, which requires moisture and carbon dioxide from the air.
Rapid drying can prevent carbonation and lead to weak, crumbly mortar.
Protect the repointed areas from direct sunlight and wind, which can cause the mortar to dry out too quickly. Cover the joints with damp hessian or plastic sheeting to maintain consistent moisture levels.
The sheeting should be breathable to allow for carbon dioxide exchange.
Mist the joints with water regularly, especially during hot or dry weather. The curing process can take several weeks or even months, depending on the type of lime mortar and the environmental conditions.
Patience is key to achieving a durable and long-lasting repair.
Troubleshooting Common Repointing Problems
Even with careful planning and execution, problems can sometimes arise during the repointing process. One common issue is the mortar drying out too quickly, which can lead to cracking and poor adhesion.
This is particularly common in hot, dry weather.
To prevent this, make sure to dampen the stones thoroughly before applying the mortar and protect the repointed areas from direct sunlight and wind. Another problem is the mortar being too wet, which can cause it to slump or wash out of the joints.
This can also occur if the mortar mix is not properly proportioned.
Ensure the mortar mix is the correct consistency, and avoid working in very wet conditions. If you encounter staining on the stones, try cleaning it off gently with a soft brush and clean water.
Act quickly to remove stains before they set.
For persistent stains, you may need to use a specialized stone cleaner, but always test it in an inconspicuous area first. If the mortar joints crack after repointing, it could be due to movement in the structure or improper curing.
Structural movement may require professional assessment and repair.
Ensure proper curing techniques are followed to minimize cracking.
Another potential issue is efflorescence, a white, powdery deposit that can appear on the surface of the mortar. This is caused by soluble salts migrating to the surface and can be removed with a dry brush.
Efflorescence is usually harmless but can be unsightly.
Advanced Stone Masonry Techniques
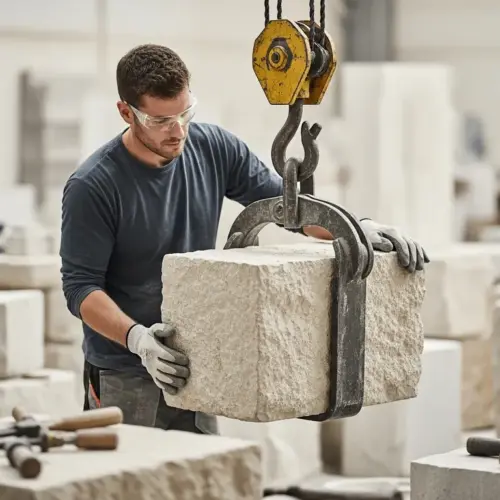
Beyond basic repointing, more advanced stone masonry techniques can address complex structural issues. Stone replacement may be necessary if stones are severely damaged or deteriorated.
This requires careful selection of matching stone.
This involves carefully removing the damaged stone and replacing it with a new stone of the same type and dimensions. Stone consolidation is another technique used to strengthen weakened or crumbling stones.
Consolidation helps preserve the original stone material.
This typically involves applying a specialized consolidant that penetrates the stone and binds the particles together. Crack repair is essential for addressing structural cracks in stone structures.
Addressing cracks prevents further damage and water ingress.
Techniques include injecting cracks with a suitable grout or epoxy, or using mechanical fixings to stabilize the stone. These advanced techniques require specialized knowledge and skills, so it’s best to consult with an experienced stone mason for complex repairs.
Professional expertise ensures proper execution and long-term stability.
Another advanced technique is stone cleaning, which can remove dirt, grime, and biological growth from the surface of the stone. However, it’s crucial to use appropriate cleaning methods to avoid damaging the stone.
Gentle cleaning methods are preferred over harsh chemicals or abrasive techniques.
Maintaining Repointed Stone Structures
Once the repointing is complete, it’s important to maintain the stone structure to prevent future deterioration. Regularly inspect the mortar joints for any signs of cracking or damage.
Early detection of problems prevents them from escalating.
Address any issues promptly to prevent them from escalating. Keep the stone structure clean by removing any dirt, moss, or vegetation that can trap moisture and accelerate decay.
Regular cleaning helps to maintain the appearance and health of the stone.
Ensure that rainwater is properly directed away from the structure to prevent water damage. Avoid using harsh chemicals or abrasive cleaning methods that can damage the stone or mortar.
Gentle cleaning preserves the integrity of the materials.
Gentle cleaning with a soft brush and clean water is usually sufficient. By following these maintenance tips, you can extend the life of your repointed stone structure and preserve its beauty for years to come.
Proactive maintenance is a worthwhile investment in the long-term preservation of the structure.
Consider applying a breathable sealant to the repointed joints to provide added protection against water penetration.
The sealant should be compatible with lime mortar and allow for moisture vapor transmission.
Lime Mortar Repointing and Historic Building Restoration
Lime mortar repointing is not just a repair technique; it’s an integral part of historic building restoration. When working on historic structures, it’s essential to use materials and techniques that are compatible with the original construction.
Using appropriate materials and techniques preserves the historic integrity of the building.
Lime mortar is the traditional material used in many historic buildings, and it’s important to use it for repointing to maintain the building’s character and integrity. Using modern cement mortars on historic buildings can actually cause damage, as they are too hard and inflexible.
Cement mortars can trap moisture within the walls, leading to deterioration of the stone and brick.
This can lead to the stones cracking and spalling. When repointing historic buildings, it’s also important to match the existing mortar joints in terms of color, texture, and profile.
Matching the existing mortar ensures a seamless and sympathetic repair.
This helps to ensure that the repointing is sympathetic to the original design and doesn’t detract from the building’s aesthetic appeal. Careful planning and attention to detail are essential for successful historic building restoration projects.
Consulting with a historic preservation specialist is recommended for complex restoration projects.
Furthermore, consider the impact of the repointing on the overall building’s energy efficiency. Lime mortar’s breathability can contribute to a more comfortable and energy-efficient indoor environment.
This is because it allows moisture to escape, preventing dampness and reducing the need for artificial heating and cooling.
Conclusion
Lime mortar repointing is a vital skill for preserving and protecting stone structures. By understanding the properties of lime mortar, preparing the structure properly, and following the correct application and curing techniques, you can achieve durable and sympathetic repairs.
Mastering these techniques ensures the longevity and beauty of stone structures.
Regular maintenance and prompt attention to any issues will further ensure the longevity of your stone structures. Whether you’re working on a historic building or a contemporary stone feature, lime mortar repointing is a worthwhile investment in the future.
By embracing lime mortar repointing, you contribute to the preservation of our built heritage and the creation of sustainable structures for generations to come.
Remember to always prioritize safety, use appropriate materials, and seek professional guidance when needed.
With dedication and care, you can achieve outstanding results and ensure the lasting beauty of stone structures.