
Maintaining the beauty and integrity of stone surfaces requires careful consideration, especially when it comes to cleaning. Choosing the right cleaning solution is essential to prevent damage and ensure long-lasting results. There’s no universal solvent that works for every type of stone and stain.
This guide will provide practical advice on selecting appropriate stone cleaning solutions for various situations. We’ll cover everything from understanding stone porosity to preventing future stains.
Whether you’re dealing with a historic building or a modern stone countertop, the right cleaning approach can make all the difference. Let’s explore the key factors to consider when choosing stone cleaning solutions.
Understanding Stone Porosity and Its Impact on Cleaning
Stone porosity refers to the amount of empty space within a stone’s structure. This characteristic significantly influences how a stone absorbs liquids and, therefore, how it reacts to cleaning solutions.
Porous stones like limestone and sandstone are more susceptible to staining because they readily absorb spills and cleaning agents. Conversely, dense stones such as granite and marble have lower porosity, making them more resistant to staining.
When selecting a cleaning solution, consider the stone’s porosity to avoid potential damage. Highly porous stones require gentler, pH-neutral cleaners to prevent discoloration or erosion.
Dense stones can generally withstand stronger cleaning solutions, but it’s still crucial to test the solution in an inconspicuous area first. Understanding porosity is the first step in selecting the right stone cleaning solutions.
The pores in stone can act like tiny sponges, soaking up any liquid they come into contact with. This is why it’s so important to understand the porosity of your stone before you start cleaning it.
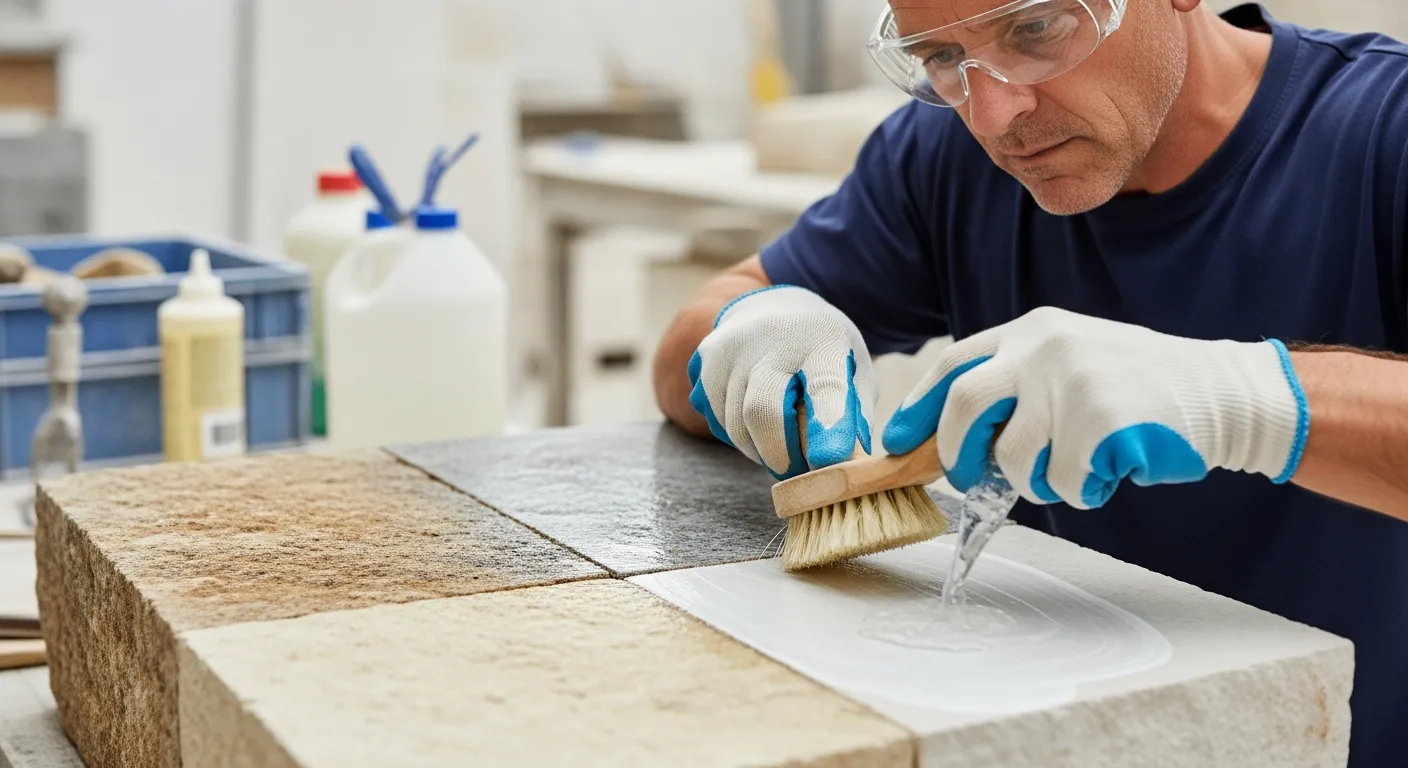
If you use the wrong cleaning solution on a porous stone, it can actually make the stain worse. The cleaning solution can seep into the pores and spread the stain further.
Think of sandstone, for example, which is commonly used in outdoor patios and walkways. Because of its high porosity, it is prone to staining from things like leaves, dirt, and even rain.
On the other hand, granite, often used for kitchen countertops, is much less porous. This means it’s more resistant to staining and can be cleaned with a wider range of solutions.
To determine the porosity of your stone, you can perform a simple water test. Place a few drops of water on the stone surface and observe how quickly it is absorbed.
If the water is absorbed quickly, the stone is highly porous. If the water beads up on the surface, the stone is less porous.
Knowing the porosity of your stone will guide you in selecting the appropriate cleaning products and techniques. It will also help you understand how frequently you need to seal the stone to protect it from future stains.
Different sealants are designed for different levels of porosity. Choosing the right sealant is just as important as choosing the right cleaner.
Identifying the Type of Stain on Your Stone Surface
Different types of stains require different cleaning approaches. Identifying the stain is crucial for selecting an effective and safe cleaning solution.
Organic stains, such as coffee, tea, or wine, often respond well to alkaline cleaners. Oil-based stains, like grease or cooking oil, may require a solvent-based cleaner.
Rust stains, on the other hand, typically need an acidic cleaner to dissolve the iron oxides. Biological stains, such as mold or algae, require specialized biocidal cleaners.
For stubborn stains of unknown origin, start with a pH-neutral cleaner and gradually increase the strength if needed. Always test the cleaning solution in an inconspicuous area to avoid damaging the stone.
Accurately identifying the type of stain is like being a detective at a crime scene. You need to gather clues to determine the culprit and the best way to eliminate it.
For instance, a reddish-brown stain on your stone might indicate rust, which requires a specialized acidic cleaner to break down the iron oxide. Ignoring this and using a general-purpose cleaner could prove ineffective or even worsen the stain.
Similarly, a dark, greasy stain near your kitchen countertop is likely an oil-based stain. Trying to remove it with water and soap alone will likely spread the oil and make the stain larger.
Organic stains, often caused by food or beverages, are usually easier to remove. However, it’s important to act quickly because the longer the stain sits, the harder it will be to remove.
Biological stains, such as mold or mildew, are often found in damp areas like bathrooms and outdoor patios. These stains require a cleaner specifically designed to kill the mold and prevent it from returning.
If you’re unsure about the type of stain, start by asking yourself some questions. What was the source of the stain? What color is it? Where is it located?
The answers to these questions can help you narrow down the possibilities and choose the right cleaning solution. You can also consult a professional stone restoration company for assistance.
Remember, patience and careful observation are key to successful stain removal. Don’t rush the process and always test your cleaning solution in an inconspicuous area first.
Choosing Between Acidic, Alkaline, and Neutral Cleaners
Stone cleaning solutions are broadly categorized into acidic, alkaline, and neutral cleaners. Each type has specific properties and applications.
Acidic cleaners, like those containing hydrochloric or phosphoric acid, are effective for removing mineral deposits, rust, and hard water stains. Alkaline cleaners, such as those containing ammonia or bleach, are good for removing organic stains, grease, and dirt.
| Cleaner Type | pH Level | Best For |
|---|---|---|
| Acidic Cleaners | pH < 7 | Mineral deposits, rust, hard water stains |
| Alkaline Cleaners | pH > 7 | Organic stains, grease, dirt |
| Neutral Cleaners | pH = 7 | General cleaning, sensitive stones |
| Solvent Cleaners | N/A | Oil-based stains, adhesives |
The pH scale, ranging from 0 to 14, is a measure of acidity or alkalinity. A pH of 7 is considered neutral.
Acidic cleaners have a pH below 7, while alkaline cleaners have a pH above 7. Understanding the pH level of a cleaner is crucial for selecting the right one for your stone.
Acidic cleaners work by dissolving mineral deposits and rust. However, they can also etch or damage acid-sensitive stones like marble and limestone.
Alkaline cleaners, on the other hand, break down grease and organic matter. They can also damage certain types of stone, especially if used in high concentrations.
Neutral cleaners are generally safe for all types of stone. They are effective for general cleaning and removing light dirt and grime.
Solvent cleaners are designed to dissolve oil-based stains. They should be used with caution and only on stones that are resistant to solvents.
When in doubt, always choose a pH-neutral cleaner. It’s better to start with a gentle cleaner and gradually increase the strength if needed.
Always read the manufacturer’s instructions carefully before using any cleaning solution. Follow the recommended dilution ratios and application techniques.
Wearing gloves and eye protection is always recommended when working with cleaning solutions. This will help protect your skin and eyes from irritation.
Proper ventilation is also important when using cleaning solutions. Open windows and doors to ensure adequate airflow.
Testing Cleaning Solutions on an Inconspicuous Area
Before applying any cleaning solution to a large area, it’s crucial to test it on a small, inconspicuous spot. This precautionary step helps prevent irreversible damage or discoloration.
Choose an area that is not easily visible, such as behind furniture or in a corner. Apply the cleaning solution according to the manufacturer’s instructions and let it sit for the recommended time.
After the dwell time, rinse the area thoroughly with clean water and allow it to dry completely. Inspect the area for any signs of discoloration, etching, or other damage.
If the test area looks satisfactory, you can proceed with cleaning the rest of the surface. If any adverse effects are observed, try a different cleaning solution or consult a professional.
Think of this test spot as your stone’s personal canary in a coal mine. It’s there to warn you of potential dangers before you commit to cleaning the entire surface.
The inconspicuous area should be representative of the entire surface you plan to clean. This will ensure that the test results are accurate.
When applying the cleaning solution to the test spot, use the same application method you plan to use on the larger area. This will help you get a realistic idea of how the solution will affect the stone.
Pay close attention to the dwell time recommended by the manufacturer. Leaving the solution on for too long can cause damage, while not leaving it on long enough may render it ineffective.
After rinsing and drying the test spot, inspect it carefully under good lighting. Look for any changes in color, texture, or sheen.
If you notice any etching or discoloration, stop using the cleaning solution immediately. Try a different solution or consult a professional.
Even if the test spot looks satisfactory, it’s still a good idea to proceed with caution when cleaning the rest of the surface. Work in small sections and monitor the results closely.
This testing process may seem tedious, but it’s a crucial step in protecting your stone surfaces. Taking the time to test your cleaning solution can save you from costly repairs or replacements.
Applying and Removing Stone Cleaning Solutions Safely
Proper application and removal of stone cleaning solutions are essential for achieving the desired results without causing harm. Always follow the manufacturer’s instructions carefully.
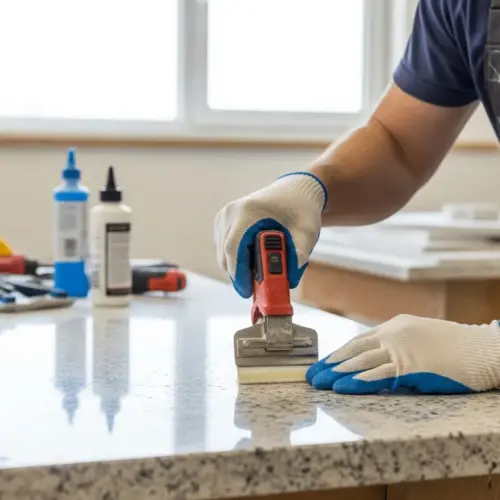
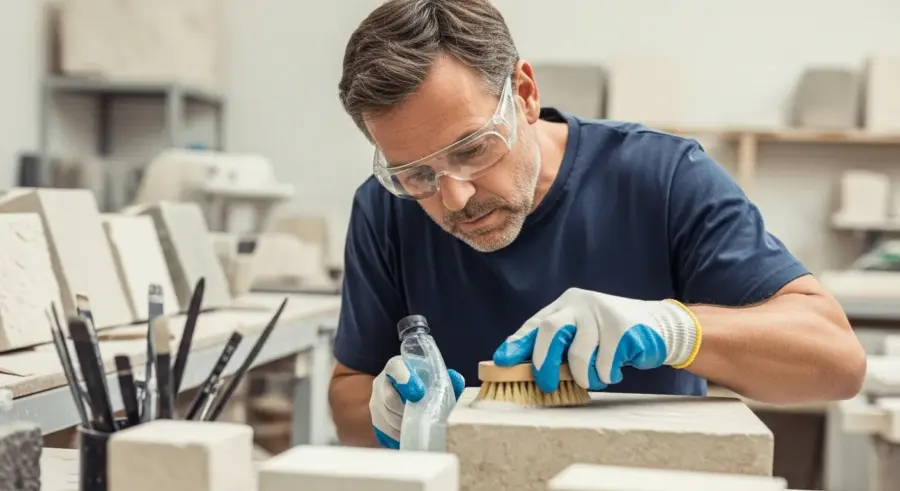
Wear appropriate personal protective equipment (PPE), such as gloves and eye protection, to avoid skin and eye irritation. Apply the cleaning solution evenly using a soft brush, sponge, or mop.
Allow the solution to dwell on the surface for the recommended time, but don’t let it dry completely. Agitate the surface gently to loosen dirt and grime.
Rinse the surface thoroughly with clean water to remove all traces of the cleaning solution. Use a wet vacuum or absorbent cloths to remove excess water.
The application process is just as important as choosing the right cleaning solution. A haphazard application can lead to uneven cleaning and potential damage.
Always read and understand the manufacturer’s instructions before you begin. Pay close attention to the recommended dilution ratios, application methods, and dwell times.
Wearing gloves and eye protection is non-negotiable. Cleaning solutions can be harsh and can cause skin irritation or eye damage.
When applying the cleaning solution, use a soft brush, sponge, or mop to ensure even coverage. Avoid using abrasive materials that can scratch the stone.
Agitate the surface gently to loosen dirt and grime. Avoid scrubbing too hard, as this can damage the stone’s finish.
Rinsing is a critical step in the cleaning process. Make sure to remove all traces of the cleaning solution, as any residue can cause discoloration or damage over time.
Use a wet vacuum or absorbent cloths to remove excess water. This will help prevent water stains and ensure that the stone dries evenly.
Proper ventilation is essential when working with cleaning solutions. Open windows and doors to ensure adequate airflow.
If you’re cleaning a large area, work in small sections to ensure that you can properly apply and remove the cleaning solution before it dries.
Rinsing and Drying Stone Surfaces After Cleaning
Rinsing and drying are critical steps in the stone cleaning process. These steps prevent residue buildup and water stains.
After applying and agitating the cleaning solution, rinse the stone surface thoroughly with clean, clear water. Multiple rinses may be necessary to ensure complete removal of the cleaning agent.
- Use clean water
- Rinse thoroughly
- Remove excess water
- Dry with soft cloths
- Allow to air dry completely
Think of rinsing as the final act of cleansing. It’s your opportunity to wash away all traces of the cleaning solution and leave the stone surface sparkling clean.
Using clean water is essential for effective rinsing. Dirty water can re-deposit dirt and grime on the stone surface.
Rinse the stone surface thoroughly, making sure to remove all traces of the cleaning agent. Multiple rinses may be necessary, especially if you’re using a strong cleaning solution.
Removing excess water is just as important as rinsing. Standing water can cause water stains and promote the growth of mold and mildew.
Use a wet vacuum or absorbent cloths to remove excess water. Wring out the cloths frequently to ensure that you’re removing as much water as possible.
Drying the stone surface with soft cloths can help prevent water stains. Use clean, dry cloths to wipe down the surface.
Allowing the stone surface to air dry completely is the final step in the cleaning process. This will help prevent water stains and ensure that the stone is completely dry.
Avoid placing furniture or other objects on the stone surface until it is completely dry. This will prevent water stains and other damage.
Proper rinsing and drying are essential for maintaining the beauty and integrity of your stone surfaces. Taking the time to do these steps correctly will help prevent problems in the future.
Sealing Stone Surfaces for Added Protection
Sealing stone surfaces is a proactive measure that provides an extra layer of protection against stains and moisture. Sealants penetrate the stone’s pores, making it less absorbent.
Choose a sealant specifically designed for the type of stone you’re working with. Apply the sealant according to the manufacturer’s instructions, ensuring even coverage.
Allow the sealant to cure completely before exposing the surface to moisture or traffic. Reapply sealant periodically, as recommended by the manufacturer, to maintain optimal protection.
Sealing is particularly important for porous stones like limestone and sandstone, which are more vulnerable to staining. But even dense stones can benefit from the added protection a sealant provides.
Think of sealing your stone as applying a protective shield. It’s like giving your stone a raincoat to protect it from the elements.
Choosing the right sealant is crucial. Different sealants are designed for different types of stone and different levels of porosity.
Apply the sealant evenly, making sure to cover the entire surface. Follow the manufacturer’s instructions carefully to ensure proper application.
Allow the sealant to cure completely before exposing the surface to moisture or traffic. This will allow the sealant to properly penetrate the stone and provide maximum protection.
Reapply sealant periodically, as recommended by the manufacturer. This will help maintain the protective barrier and prevent stains from penetrating the stone.
Sealing is especially important for porous stones like limestone and sandstone. These stones are more vulnerable to staining and require regular sealing to maintain their beauty.
Even dense stones can benefit from the added protection a sealant provides. A sealant can help prevent water stains and other types of damage.
Consider the location of the stone surface when choosing a sealant. Stone surfaces in high-traffic areas or areas prone to spills may require a more durable sealant.
Investing in a good quality sealant is a worthwhile investment. It will help protect your stone surfaces and keep them looking their best for years to come.
Preventing Future Stains on Stone Surfaces
Prevention is always better than cure when it comes to maintaining stone surfaces. Implementing preventative measures can significantly reduce the likelihood of future stains.
Clean spills immediately to prevent them from penetrating the stone. Use coasters and placemats to protect surfaces from drinks and food.
Regularly sweep or vacuum stone floors to remove dirt and debris that can scratch the surface. Place mats at entrances to trap dirt and moisture before they reach the stone.
Avoid using abrasive cleaners or scrub brushes that can damage the stone’s finish. By taking these simple precautions, you can keep your stone surfaces looking their best for years to come.
Think of preventative measures as your first line of defense against stains. By taking simple steps, you can significantly reduce the risk of damage to your stone surfaces.
Cleaning spills immediately is crucial. The longer a spill sits on the stone surface, the more likely it is to penetrate and cause a stain.
Use coasters and placemats to protect surfaces from drinks and food. These simple items can prevent spills and stains from reaching the stone.
Regularly sweep or vacuum stone floors to remove dirt and debris. Dirt and debris can scratch the stone’s finish and make it more susceptible to staining.
Place mats at entrances to trap dirt and moisture before they reach the stone. This will help prevent dirt and moisture from being tracked onto the stone surface.
Avoid using abrasive cleaners or scrub brushes. These can damage the stone’s finish and make it more susceptible to staining.
Consider using a stone-safe cleaner for regular cleaning. These cleaners are specifically designed to be gentle on stone surfaces.
Regular maintenance is key to preventing future stains. By taking these simple precautions, you can keep your stone surfaces looking their best for years to come.
Educate family members and guests about the importance of protecting stone surfaces. This will help ensure that everyone is on board with your preventative measures.
Conclusion
Selecting the right stone cleaning solutions involves understanding stone porosity, identifying stain types, and choosing appropriate cleaners. Always test solutions in inconspicuous areas and follow safety guidelines.
Regular maintenance and preventative measures, including sealing and prompt spill cleanup, are essential for preserving stone’s beauty. With the right approach, your stone surfaces can remain pristine and beautiful for generations.
Caring for stone surfaces requires a blend of knowledge, caution, and consistent effort. By understanding the nuances of stone porosity and stain identification, you can make informed decisions about cleaning solutions.
Remember that testing cleaning solutions in inconspicuous areas is paramount to avoid irreversible damage. Adhering to safety guidelines, such as wearing protective gear, is crucial for your well-being.
Regular maintenance, including sweeping, vacuuming, and prompt spill cleanup, plays a vital role in preserving stone’s beauty. Sealing stone surfaces provides an extra layer of protection against stains and moisture.
By implementing these strategies, you can ensure that your stone surfaces remain pristine and beautiful for generations to come. The investment in proper care will pay dividends in the form of long-lasting beauty and value.
Don’t hesitate to consult with a professional stone restoration company if you encounter stubborn stains or complex cleaning challenges. Their expertise can provide valuable guidance and ensure the best possible outcome.
Ultimately, the key to successful stone care is a proactive and informed approach. By understanding the unique characteristics of your stone and following best practices for cleaning and maintenance, you can preserve its beauty and integrity for years to come.